Docker
Zentyal integrates Docker [1] and Portainer Community Edition (CE) [2] to create and manage a dockerized environment.
| [1] | https://docs.docker.com/get-started/overview/ |
| [2] | https://docs.portainer.io/ |
General configuration
Through the menu we can access the general configuration of the service.
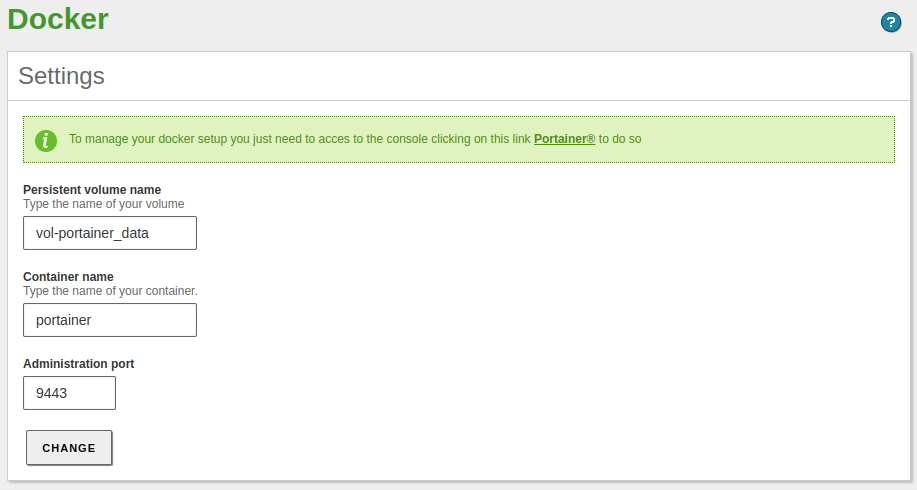
Docker module configuration
In this section we can modify the following parameters:
- Persistent volume name:
- Name of the volume that will be used by the Portainer container for its data persistence.
- Container name:
- Name of the container Portainer will use.
- Administration port:
- Port to manage Portainer.
Warning
Once the module is enabled, if we change any of the values of this form, the container and its volume will be eliminated to be created from scratch.
IMPORTANT: This is not already implemented, therefore, if a change is made with the module enabled, you’ll have to manually delete the container and its volume beforehand to avoid issues while saving changes.
Initial configuration
Once we have the module enabled, we can access the administration panel using our Zentyal IP along with the port defined in the module configuration.
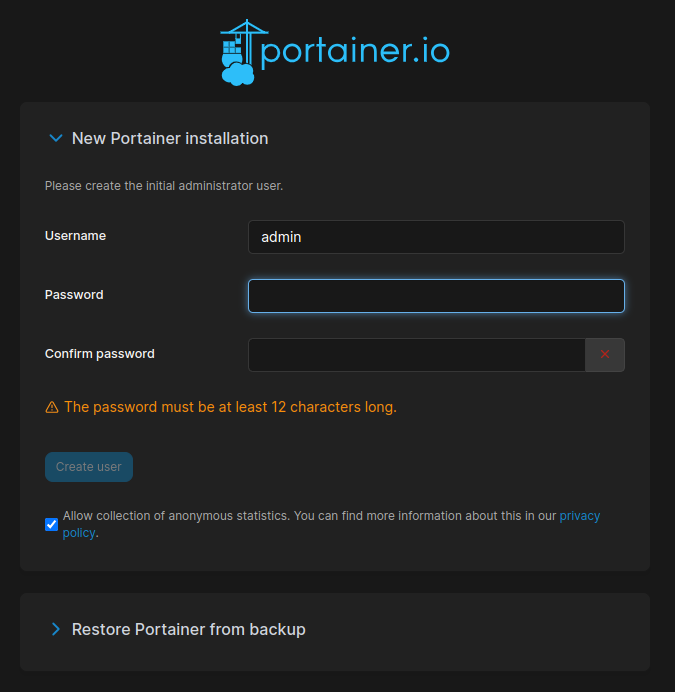
Portainer admin user initial setup
Warning
We will get a notice that the site is not trustworthy, this is because the certificate is self-signed.
As we can see, the first time the Portainer container is created, it tells us that we have to create the user Portainer administrator. Once established, we can log in and start using Portainer.
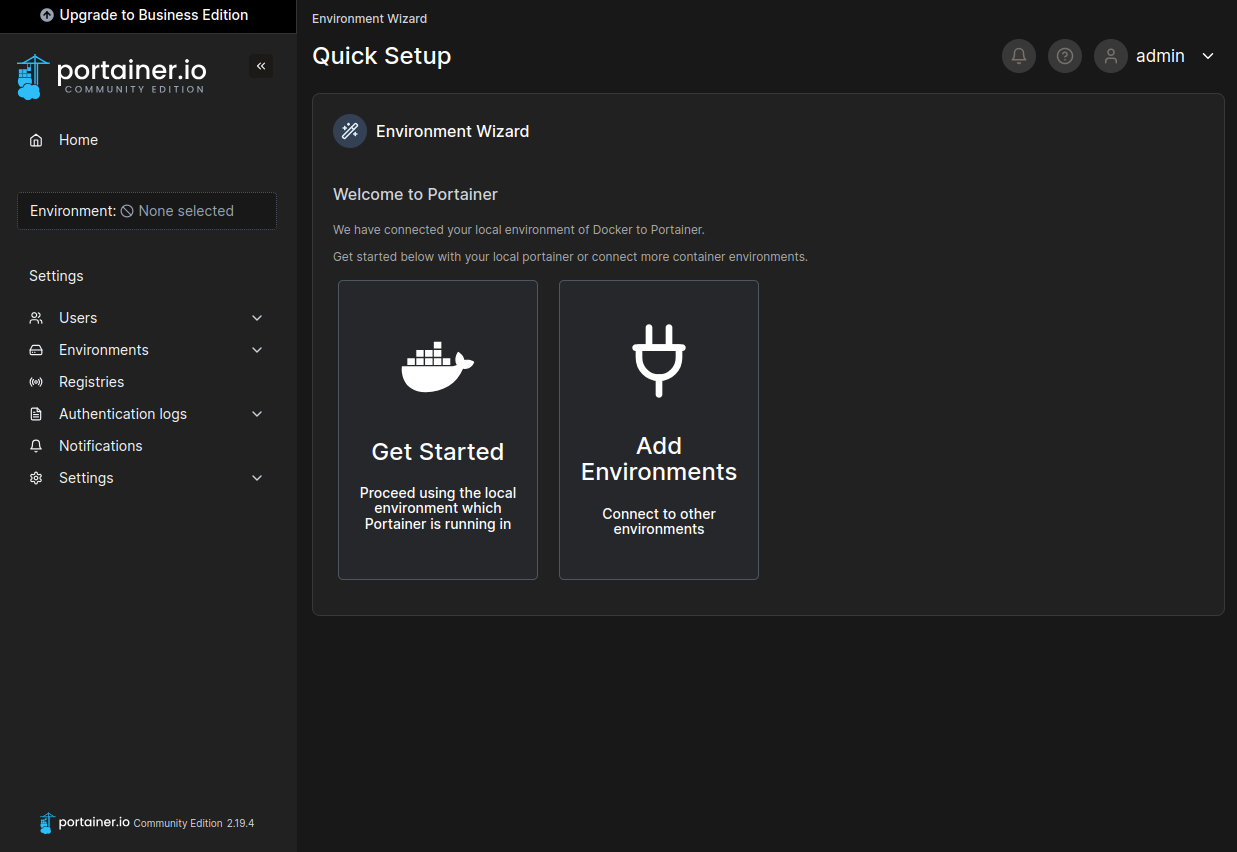
Portainer admin panel
Example of using Portainer locally
Below is a simple example in which a container will be created with Nginx [3] locally, which will listen on port 9090. To do this, we do the following from the Portainer administration panel:
- We go to the top menu Home:
Access to environments created in Portainer
- We select the Local environment, which is our own Zentyal server:
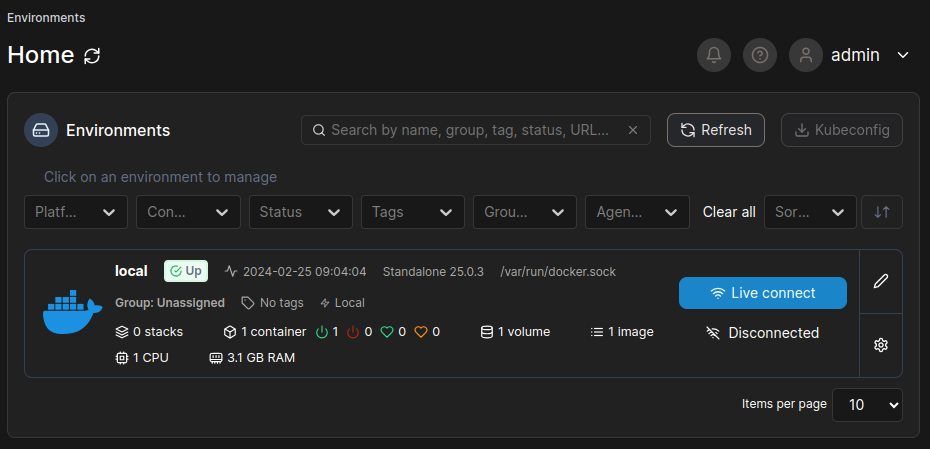
List of available environments
- We select Container:
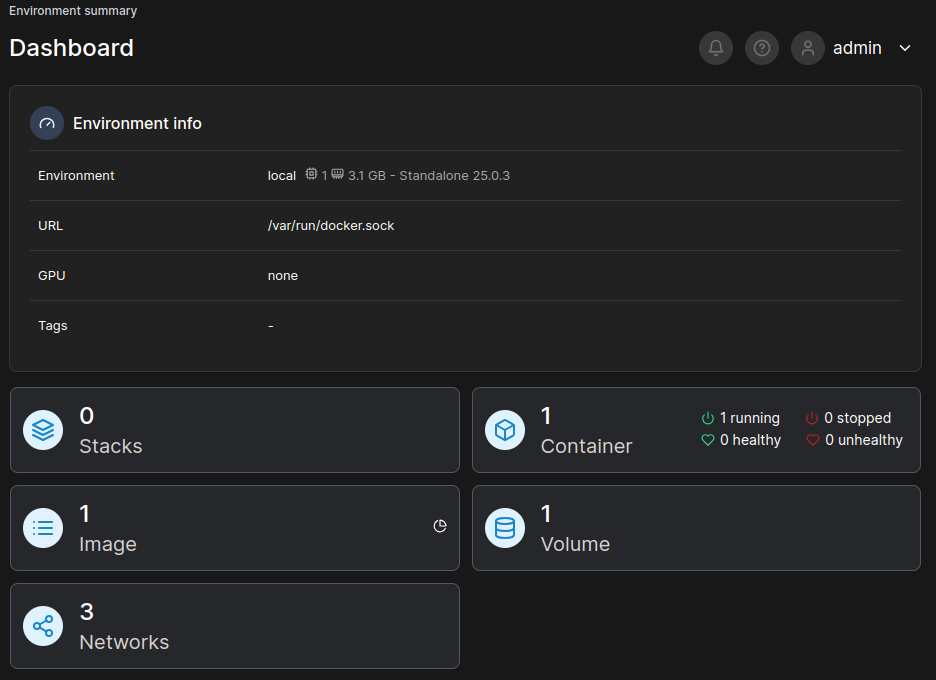
List of menus specific to the environment
- Click on Add container:
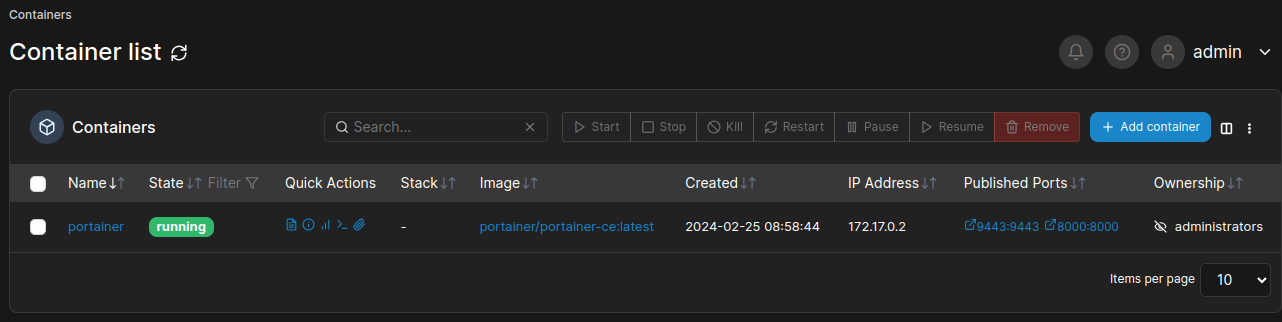
List of existing containers
- We establish the simple values for the container and click on Deploy the container:
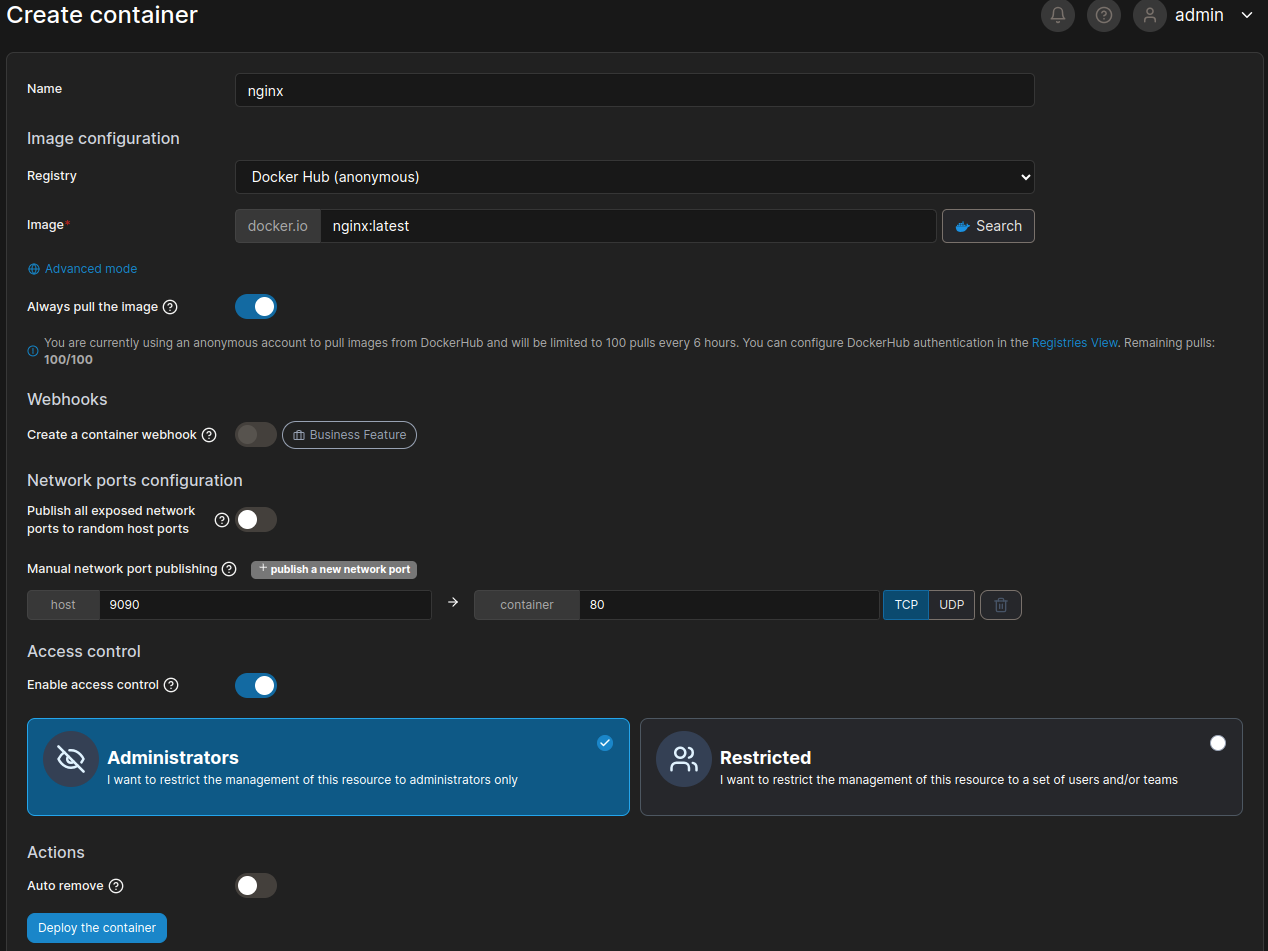
Nginx container configuration
Warning
Container creation may take a few minutes as the established image must be downloaded from Docker Hub.
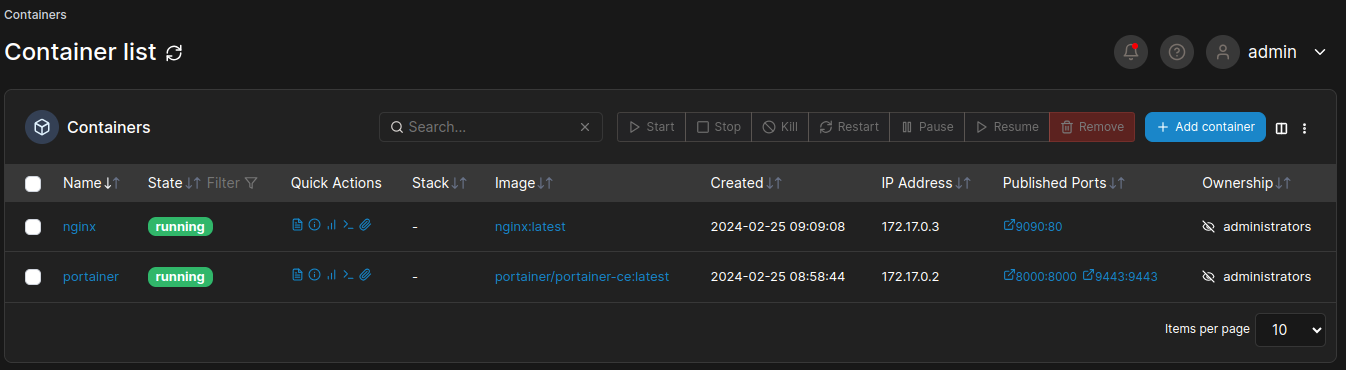
List of existing containers
- We create a network service and set the port of our container:
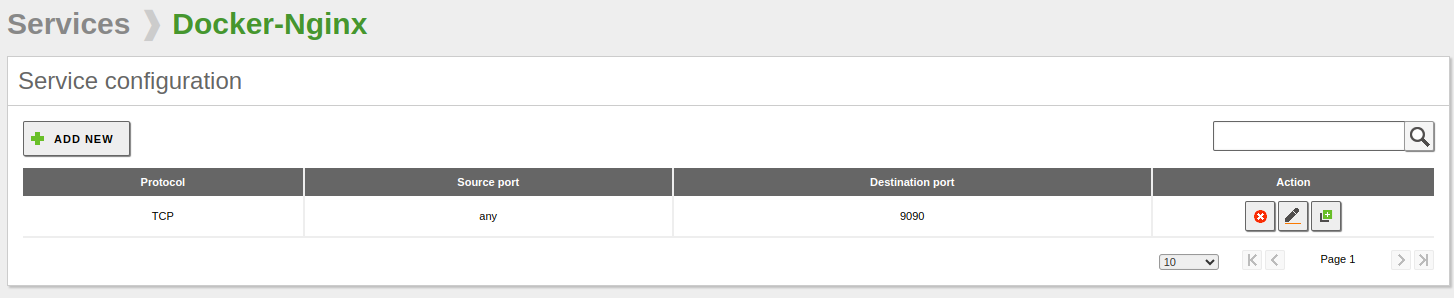
Network service
- We create the rule in the firewall:
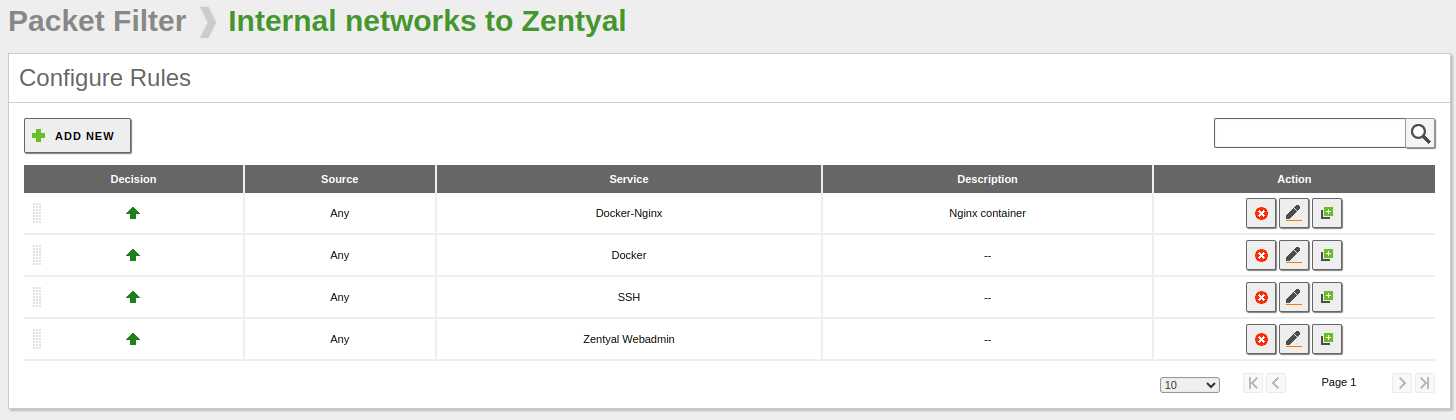
Firewall rule
- We verify access:
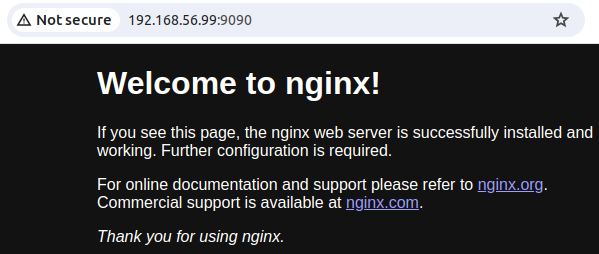
Nginx home page
| [3] | https://hub.docker.com/_/nginx |