Restoring a Configuration Backup
In this entry, we will explain how to restore a backup on a new Zentyal server.
Warning
Data will not be restored; for that, you will need to use the backup module [1].
Table of Contents
| [1] | Backup module: https://doc.zentyal.org/en/backup.html |
Considerations
Before restoring a configuration backup, the following considerations must be taken into account:
- You must be aware that if both servers are on the same network, once the backup is restored, there will be an IP conflict since both servers will have the same network configuration.
- The considerations described in this link [2] regarding the restoration of a configuration backup.
| [2] | Configuration Backup: https://doc.zentyal.org/en/backup-conf.html#considerations-when-restoring-a-configuration-backup |
Lab Environment
The lab environment consists of two Zentyal servers.
Source Zentyal Server for the Backup
On this server, we will generate the configuration backup.
- Version → Zentyal 8.0
- Installed Modules → Network, Firewall, Logs, NTP, CA, DNS, Domain Controller, Mail and Webmail
- Hostname → dc01
- Domain Name → zentyal-domain.lan
- External Network Interface: eth0 → DHCP
- Internal Network Interface: eth1 → 192.168.80.10/24
- Domain Users → sergio, maria
- Shared Resources → accounting
Destination Zentyal Server for the Backup
The Zentyal server where we will restore the backup.
- Version → Zentyal 8.0
- Installed Modules → Network, Firewall, Logs
Source Server Configuration for the Backup
Below is the configuration of the source Zentyal server from which we will create the backup to be restored on the new Zentyal server.
Domain Controller Module
A few users with email accounts and groups have been created. Additionally, a Windows machine has been joined to the domain.
File Sharing Module
The shared resource accounting has been created, and an ACL has been configured for the domain user maria with read and write permissions.
Creating the Backup
To generate the backup, log in to the administration panel of the source Zentyal server, then go to System -> Backup, give the resulting backup file a name, and click on the BACKUP button.
Wait for the process to finish.
Once the process is complete, from the same page, in the Backup List section, you can see the backups, which you will proceed to download using the download option in the actions section.
Tip
Backups are stored in the directory /var/lib/zentyal/conf/backups/
Destination Server Configuration
On the server where the backup will be restored, log in to the administration panel and proceed with its configuration:
- Configure the same machine name and domain as the source server:
Warning
It is important that the names are the same; otherwise, the Domain Controller module configuration during the restoration will not work.
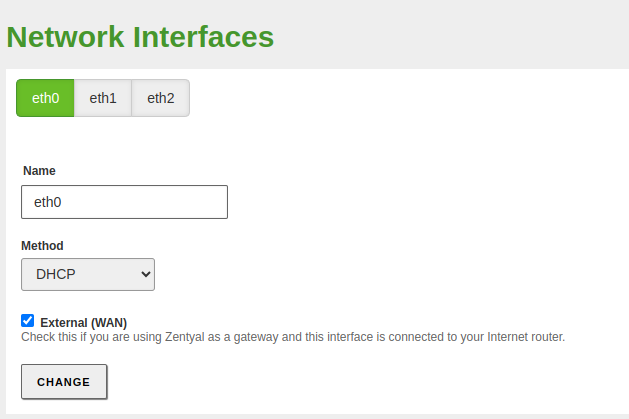
- Ensure that you have at least the same number of network interfaces and at least, one must be configured:
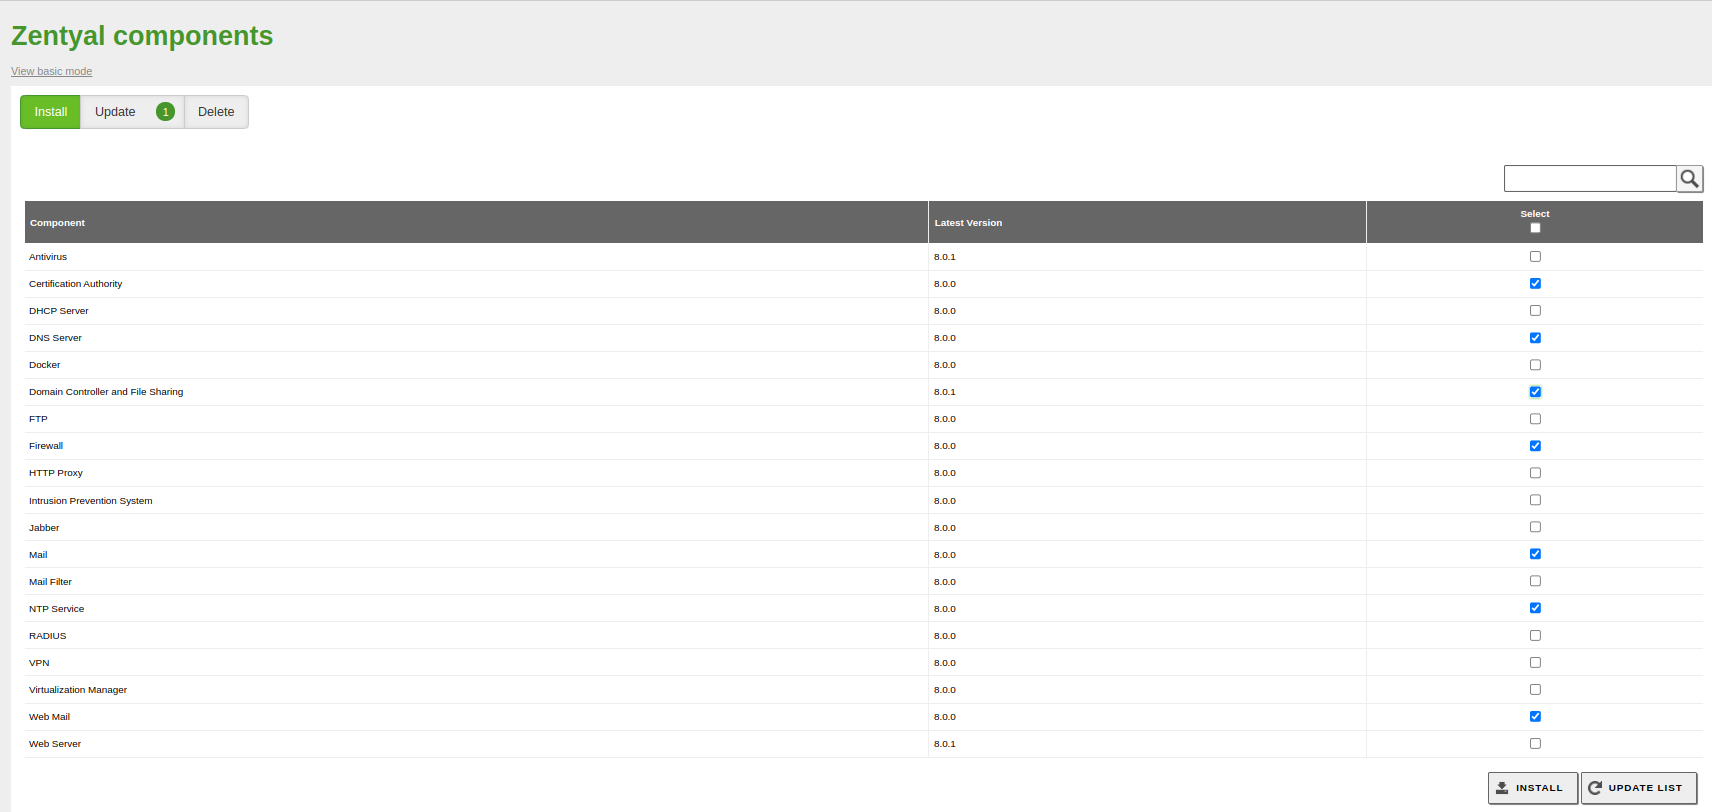
- Install the same modules that are on the source Zentyal server:
- Save changes.
- Enable the :guilabel`Domain Controller` module and save changes. This will provision the domain with default data; however, when importing the backup, these will be overwritten by those included in the configuration backup.
- Enable the Mail and Webmail modules and save changes.
Restoring the Backup
Once the configuration process is complete, go to System -> Configuration Backup, click on Select File and select the configuration backup that you previously downloaded.
Warning
Before importing it, it is critical to ensure that both Zentyal servers are not on the same network; otherwise, an IP conflict will occur.
Click on Restore, and if the file restoration is successful, you will see the following result:
Then, proceed to save changes so that the information is imported.
Post-Restoration Checks
Once the configuration backup has been successfully restored, you will need to verify that the modules are configured as they were on the source server.
- The machine name and domain are maintained.
- The network module configuration has been correctly restored.
- The DNS module has the A records correctly created.
- The shared resource and ACL have been successfully created.
- The email virtual domain has been created.
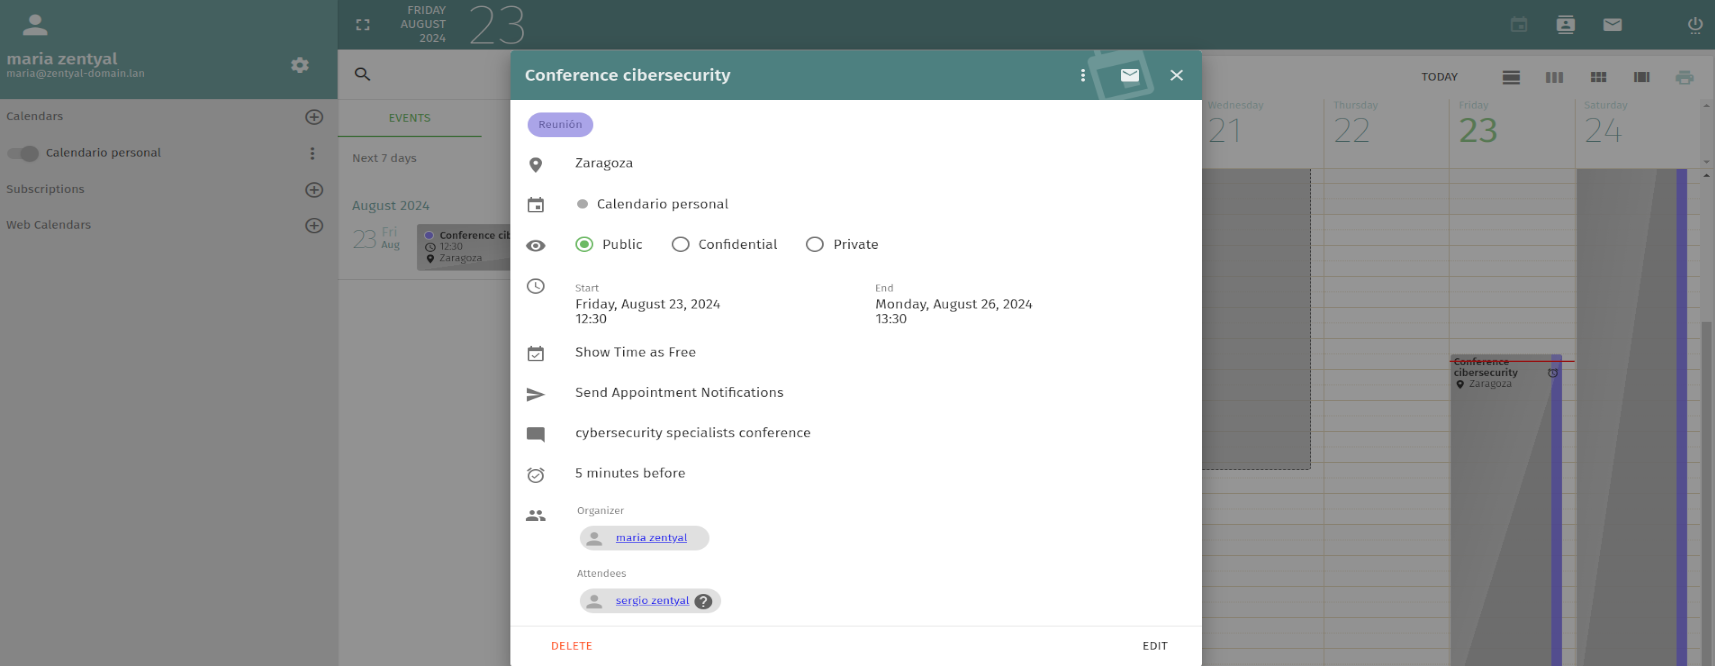
- The calendar event for the user maria has been restored.


