Installation
Generally speaking, Zentyal is meant to be installed exclusively on one (real or virtual) machine. However, this does not prevent you from manually installing and configuring other applications (that are not managed through the Zentyal interface).
Zentyal runs on top of the Ubuntu [1] server edition, always using the LTS (Long Term Support) editions [2]. LTS editions have longer support periods, covering five years.
You can install Zentyal in two different ways:
- On top of an existing Ubuntu 20.04 LTS, either on a server or desktop version (recomended option).
- Using the official Zentyal installer.
If you choose the first method, you need to download the Zentyal installation script [3] and then, run it.
Warning
It is possible to install the Zentyal graphical environment in the Server version and also in the Desktop version if you have Gnome environment.
If you choose the second method, the installation and deployment process is easier as all dependencies are found on a single DVD or USB. Another benefit of using the DVD or USB is to have a graphical environment that allows the use of a web interface and desktop environment from the server host itself.
It is recommended to have an Internet connection available for the host where you are installing Zentyal, this way the most recent updates and fixes will be installed automatically.
| [1] | Ubuntu is a Linux distribution developed by Canonical and the community, focused on laptops, PCs and servers: http://www.ubuntu.com/. |
| [2] | For a detailed description about the publication of Ubuntu versions it is recommended you check the Ubuntu guide: https://wiki.ubuntu.com/Releases. |
| [3] | Installation script: https://raw.githubusercontent.com/zentyal/zentyal/master/extra/ubuntu_installers/zentyal_installer_7.0.sh |
Installation on top of Ubuntu 20.04 LTS (Server or Desktop)
To install Zentyal 7.0 on top of an existing Ubuntu 20.04 LTS Server or Desktop, you need to follow these steps:
Download the installation script for Ubuntu (Server or Desktop):
wget https://raw.githubusercontent.com/zentyal/zentyal/master/extra/ubuntu_installers/zentyal_installer_7.0.sh
Grant execution permission to the script:
sudo chmod u+x zentyal_installer_7.0.sh
Run it:
sudo ./zentyal_installer_7.0.sh
You need to choose if you want to install the graphical environment or not. To this end, choose ‘y’ to install or ‘n’ to not to install the graphical environment:
Do you want to install the Zentyal Graphical environment? (n|y) y
After a few minutes, you will see the URL of the Zentyal Web Admin Interface to start the initial Zentyal configuration with the configuration wizard:
Installation complete, you can access the Zentyal Web Interface at:

* https://<zentyal-ip-address>:8443/
On the log in screen of the Zentyal Web Admin Interface, you have to authenticate with the Ubuntu system user. After this, you can start with the configuration wizard. As an additional note, keep in mind that Zentyal allows any system user belonging to the sudo group to login to the graphical interface.
If you have installed Zentyal with graphical environment, it will start once you have restarted the server.
Now you can continue with the steps explained in the Initial configuration section, with the configuration wizard (package selection, network configuration, etc.). Bear in mind that when you install with the installation script, you always install the Development Edition. You can activate a Trial or Commercial Edition once you have finished with the initial configuration. To do this, simply go to and insert your License Key [4].
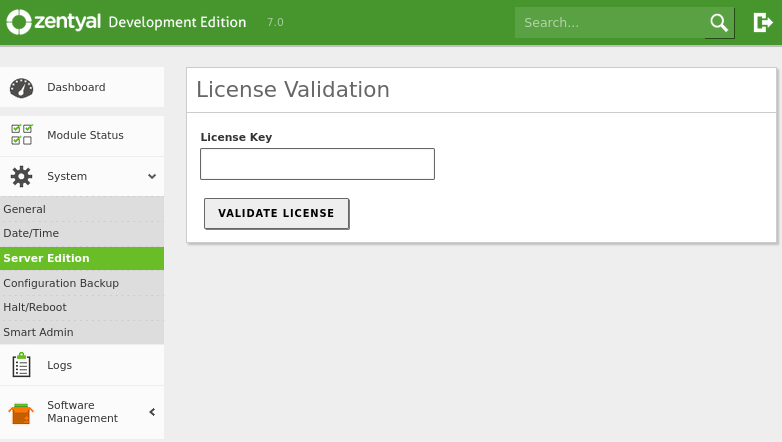
Activation of a Commercial Edition when installing with the script
Warning
If you reboot the server without having configured first the network module through the configuration wizard, you will loose the network configuration. In this case you will have to configure the network manually with the ip command so that you can access the configuration wizard.
Warning
If you don´t see the graphical environment once you have rebooted the server, you need to use the keyboard shortcuts: CTRL + ALT + F7 or CTRL + ALT + F5 .
| [4] | Free Trial of the Commercial Zentyal Edition: https://zentyal.com/trial/ |
Zentyal installation from the installer
The first iteration of the Zentyal installer is based on the Ubuntu Server installer. Those already familiar with this installer will find the installation process very similar.
Warning
The steps below apply to all Zentyal editions, but if you are installing a commercial edition, you will be asked for a valid license key (obtained when you purchased your edition), otherwise the installation process will not continue.
To start with, you choose the installation language. In this example English is chosen.
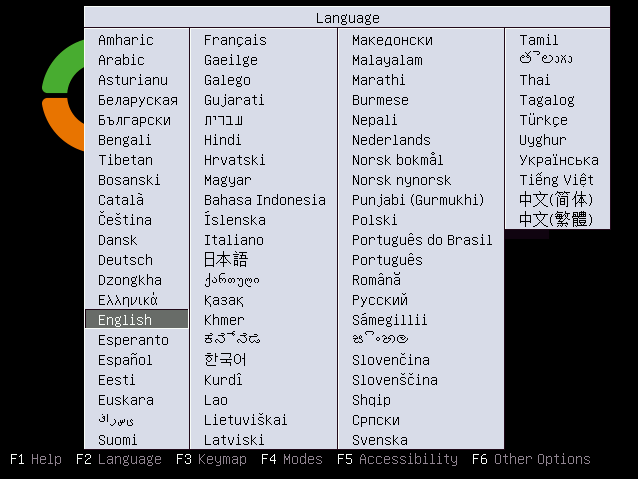
Selection of the language
You can install Zentyal by using the default mode which deletes all disk contents and creates the partitions required by Zentyal, by using LVM [5], or you can choose the expert mode which allows customized partitioning. Most users should choose the default option unless they are installing on a server with RAID software or they want to create special partitioning according to specific requirements.
Using the expert mode you can also choose to perform a headless installation (without local desktop environment).
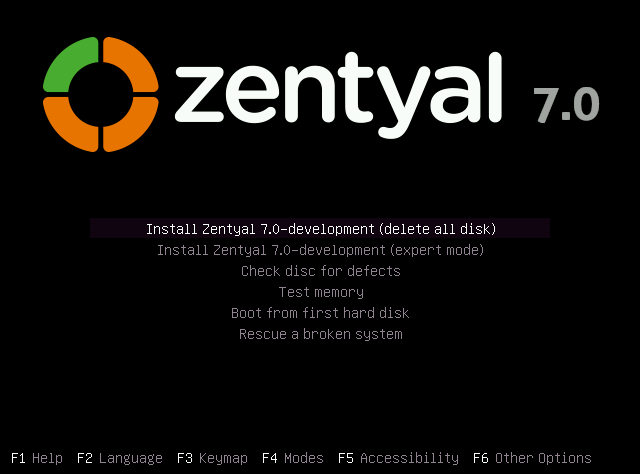
Installer start
Then you are asked for your geographical location. In this example the United States is chosen.
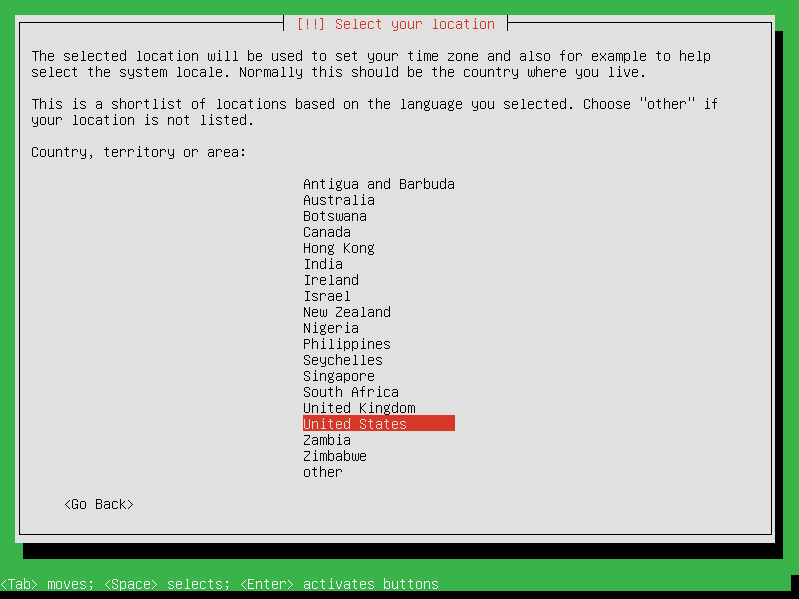
Geographical location
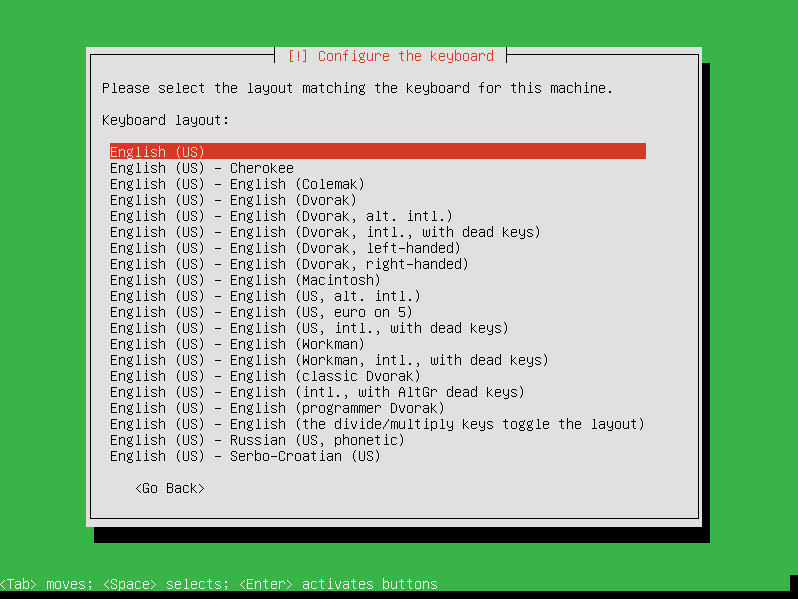
You can use automatic detection for setting the keyboard. A few questions are asked to ensure the model you are using is correct. Otherwise you can select the model manually by choosing No.
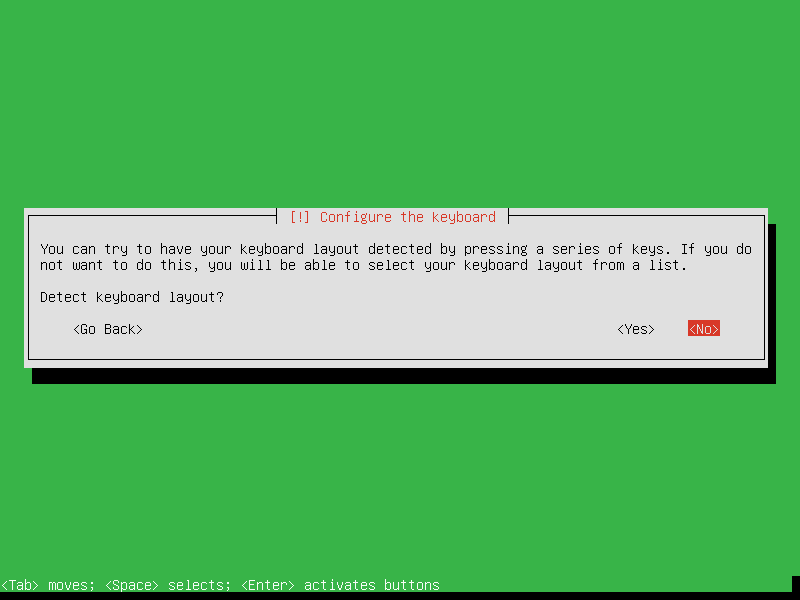
Keyboard configuration 1

Keyboard configuration 2
Keyboard configuration 3
Next, the installer will configure the network. If you have multiple network adapters, you need to select which one will be used during the installation (to download updates, for example). If you only have one interface, you will not see this step.
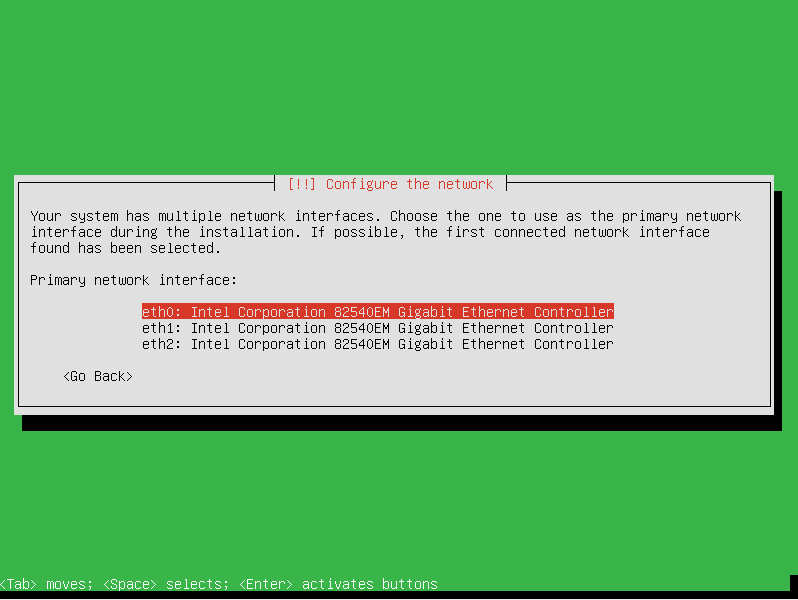
Select primary network interface
Now choose a name or hostname for your server. The hostname identifies the host within the network and is used by many of the Zentyal services. The DNS module, for example, will automatically introduce this name to the corresponding BIND record. Samba will also use this hostname by default.

Hostname
Next, the installer will ask you for the administrator account. This user will have administration privileges and will be used to access the Zentyal interface.
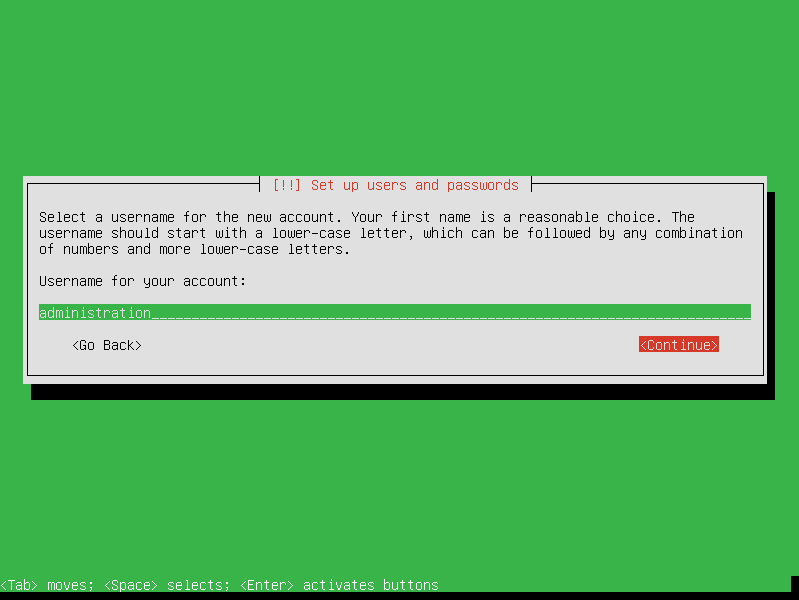
System username
In the next step, you are asked for the user password. It is important to note that the user defined earlier, can access, using the same password, both system (via SSH or local login) and the Zentyal web interface. Therefore, you must be really careful to choose a secure password (more than 12 characters including letters, numbers and symbols).
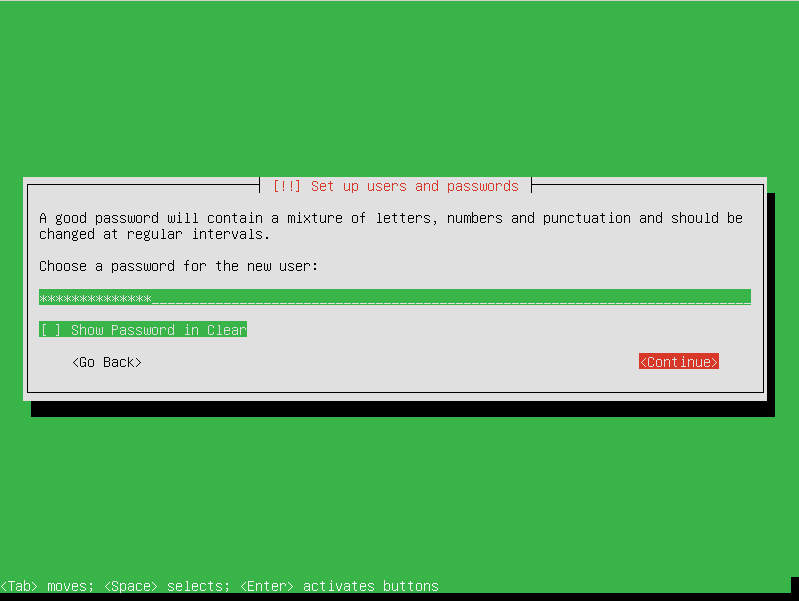
Password
The system verifies that you have entered the password correctly by requesting you to enter it again.
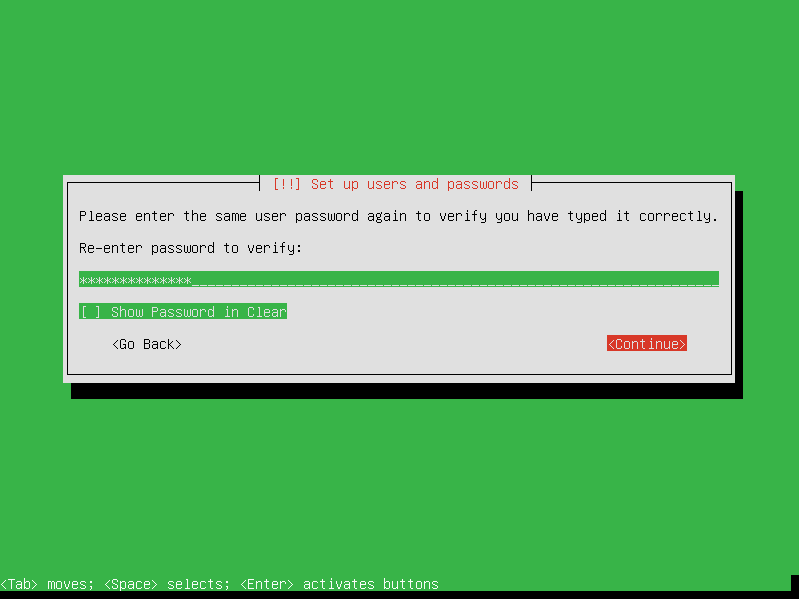
Confirm password
Once the administrator user has been configured, the system will set the time zone. It is automatically configured depending on the location chosen earlier, but you can modify it, if it is not correct.
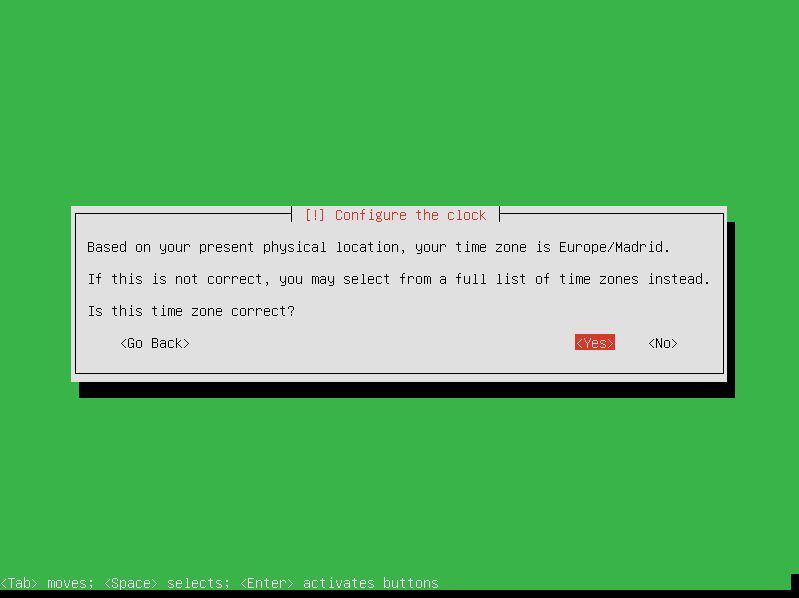
Time zone
The installation progress bar will now appear. You must wait for the basic system to install. This process can take approximately 20 minutes, depending on the connection and performance of the hardware.
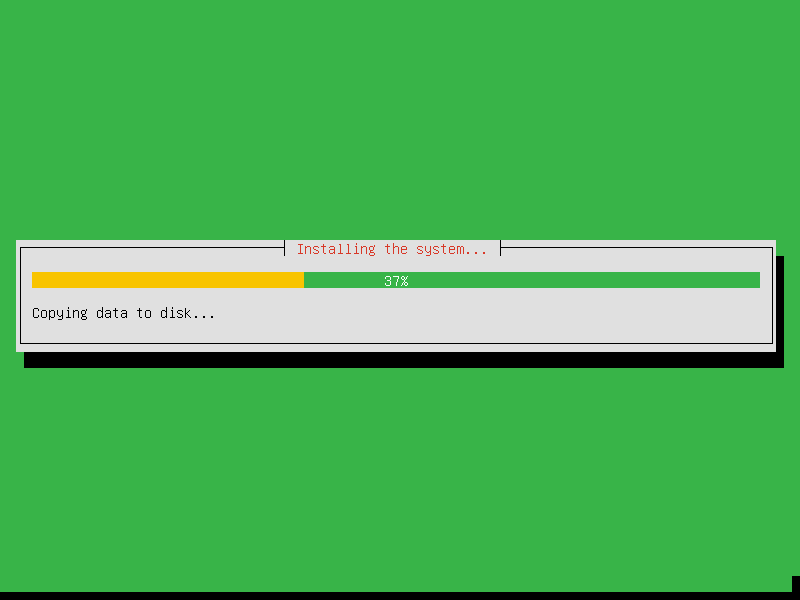
Installation of the base system
Once installation of the base system is completed, you can eject the installation media and restart the server.
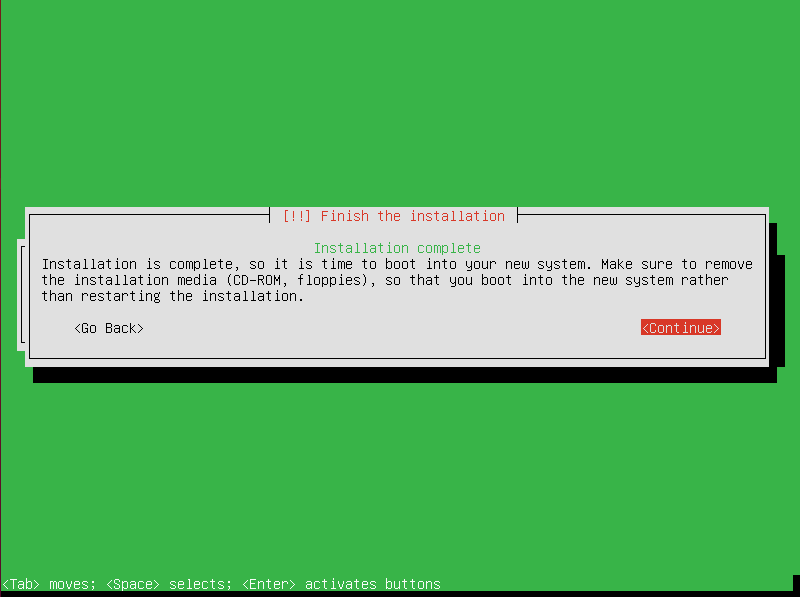
Base installation completed
Once the system has rebooted - a process that can take some time, you can start with the initial configuration of your Zentyal Server.
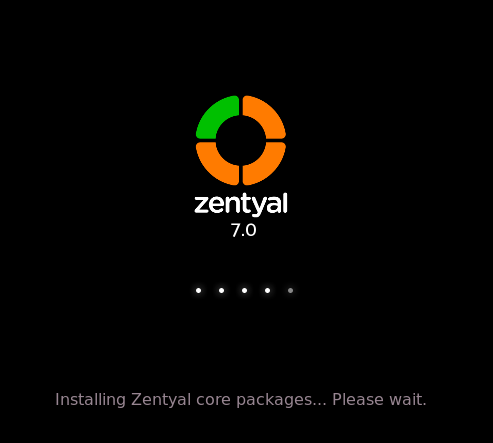
Installing Zentyal core packages
Once the reboot process has finished, your Zentyal system is now installed! The system will start a web application (administrative interface of Zentyal Server) that you can access locally or remotely through a web browser. Although after the first reboot the system has started the user session automatically, from now on you will need to authenticate in order to log in to the system. Keep in mind that the first boot will take a little longer because some basic software packages need to be configured.

Graphical environment with administrative interface
You need to provide the username and password created during the installation. Any other user that you later add to the sudo group will be able to access the Zentyal interface. They will also have superuser privileges on the system.
| [5] | LVM is the logical volume manager in Linux, you can find an introduction to LVM management in http://www.howtoforge.com/linux_lvm. |
Initial configuration
When you access the web interface for the first time, you will be presented a configuration wizard.
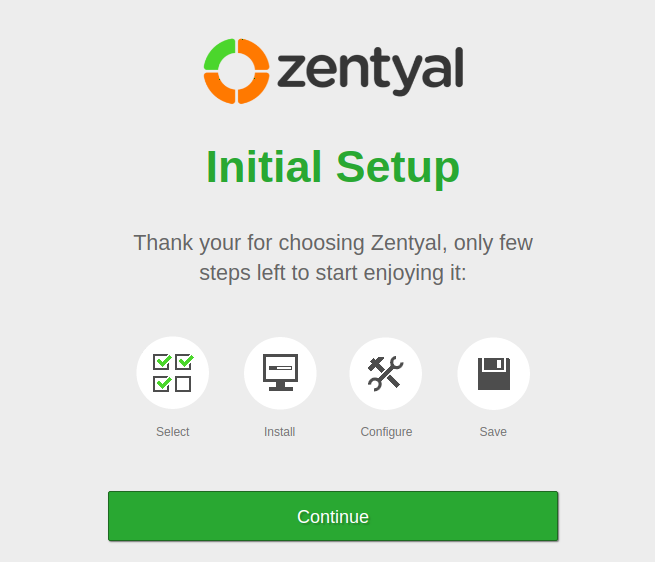
Installation wizard
In case you are installing a Commercial Edition or a Free 45-Day Trial from the ISO, you are requested to insert your License Activation Key to proceed with the installation. Insert your Key and continue with the installation.
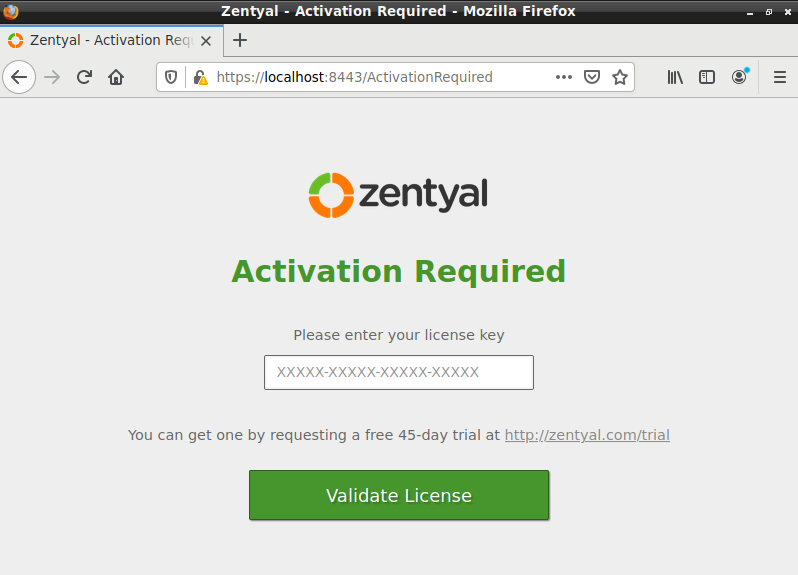
License activation
Warning
The Zentyal server will require Internet access.
First of all, you will be asked about the functionality that you want to install and configure in your server. Some of these components depend on others, but Zentyal will manage these dependencies automatically. The next steps of this wizard will depend on the functionality you choose here. In any case, you can install/remove/update any of the components later on from the server’s interface.
For this example, the Domain Controller and Directory Services, Electronic Mail Service (SMTP/POP3-IMAP4) and Firewall components will be installed.
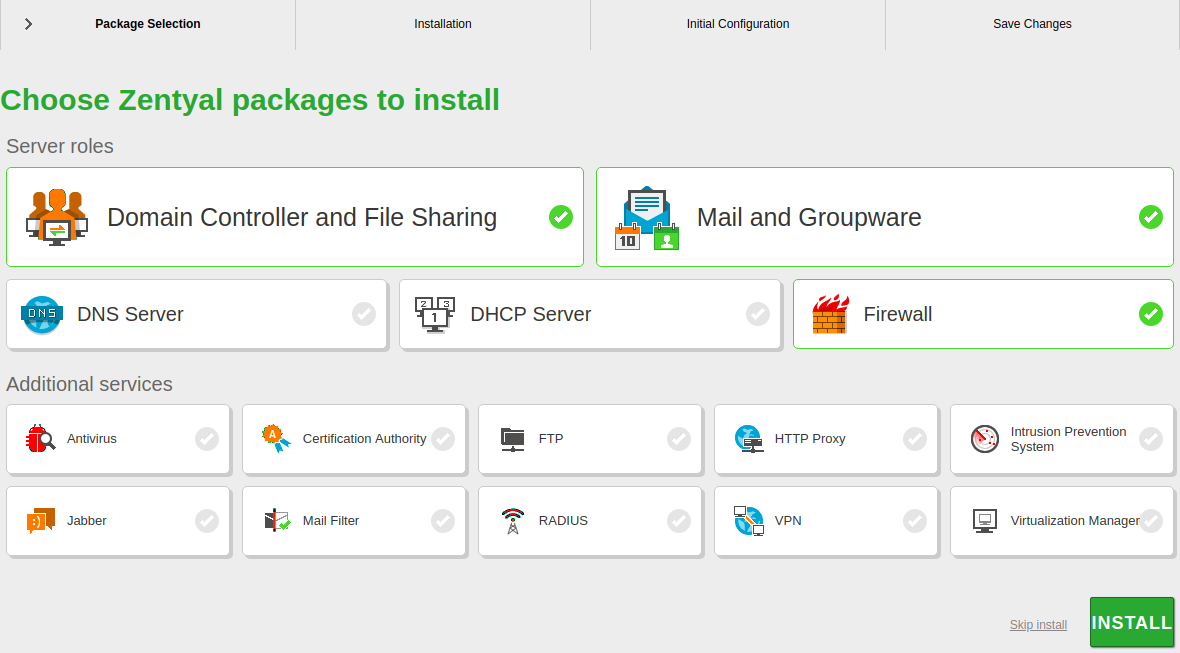
Zentyal components
Zentyal will inform you of the dependencies that will be installed to support the components you have chosen in the previous step.
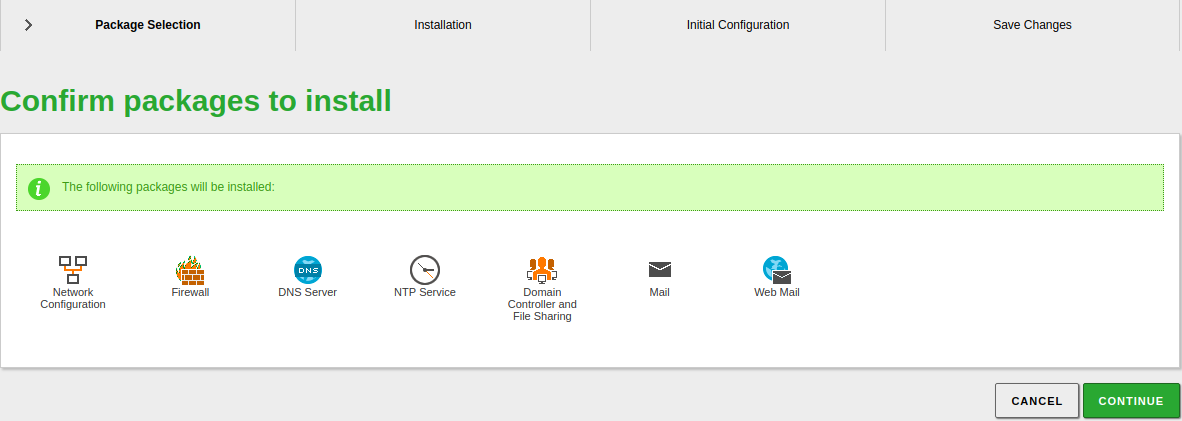
Dependencies
The system will start the installation process of the chosen modules. Progress bar shows information of the modules being installed, while you are provided with information regarding the commercial version.
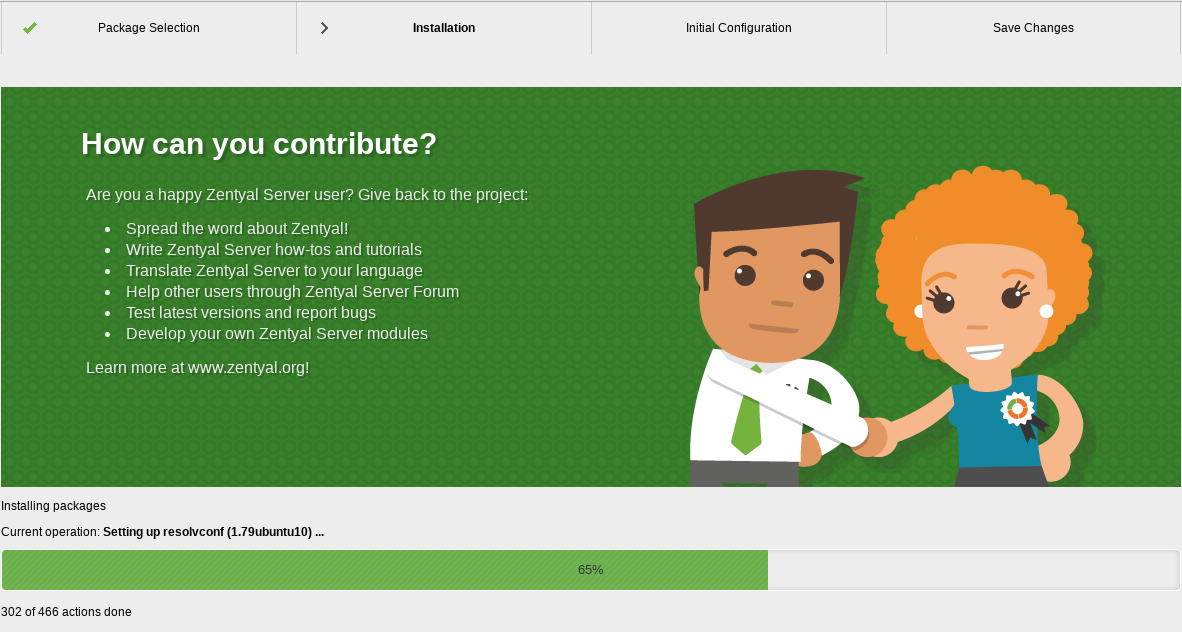
Software installation
Next, you will be asked for the basic network information. First of all, which interfaces are External (generally speaking, connected to the Internet gateways), and which ones are Internal (generally speaking, LAN interfaces). This will impact the firewall default policies, network masquerading, default listen interfaces for other modules, etc.
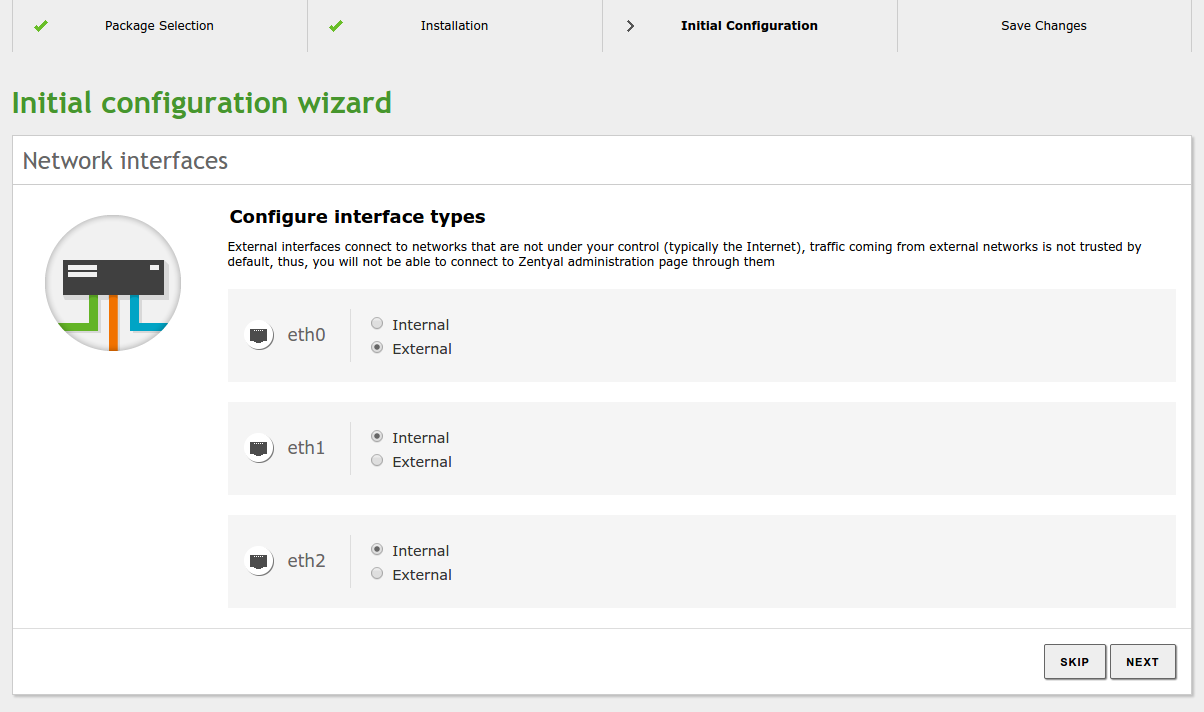
Interface types
Next you can establish different configuration parameters: IP assigned by DHCP or static network configuration, associated IP, etc. These parameters can be reconfigured from the Zentyal interface at any later time.
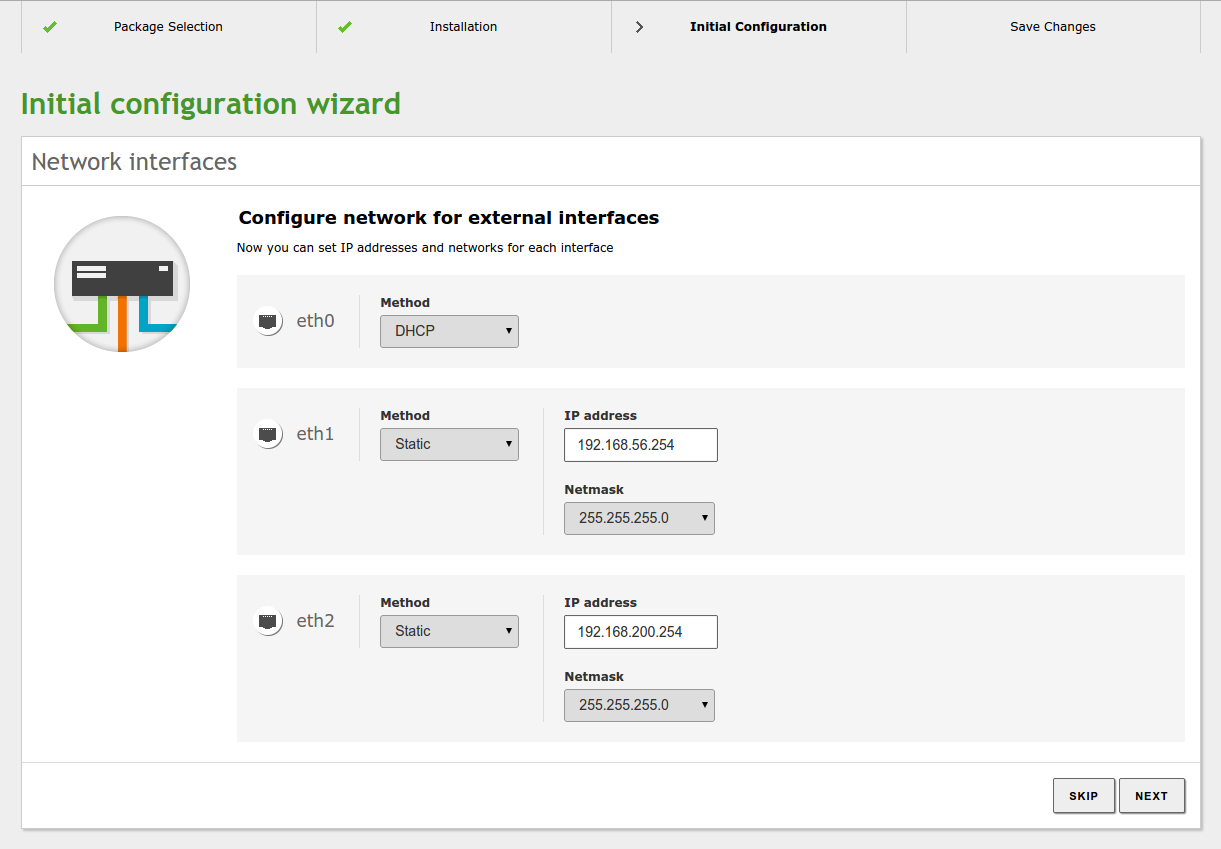
Network configuration
Once you have configured the network interfaces, you need to choose the domain associated to your server and the type of ‘Domain Controller’ you wish to deploy. You have these options:
- Standalone: First domain controller of the domain.
- Additional domain controller: Join an existing domain as an additional controller.
For the sake of simplicity Standalone mode will be selected for this example. You can read more about the other ‘Active Directory’ modes in the Domain Controller and Directory Services chapter.
To configure this mode you only need to specify the domain name for your directory entities. Be careful not to confuse this with the DNS domain, which is a highly related, but used in a different context.
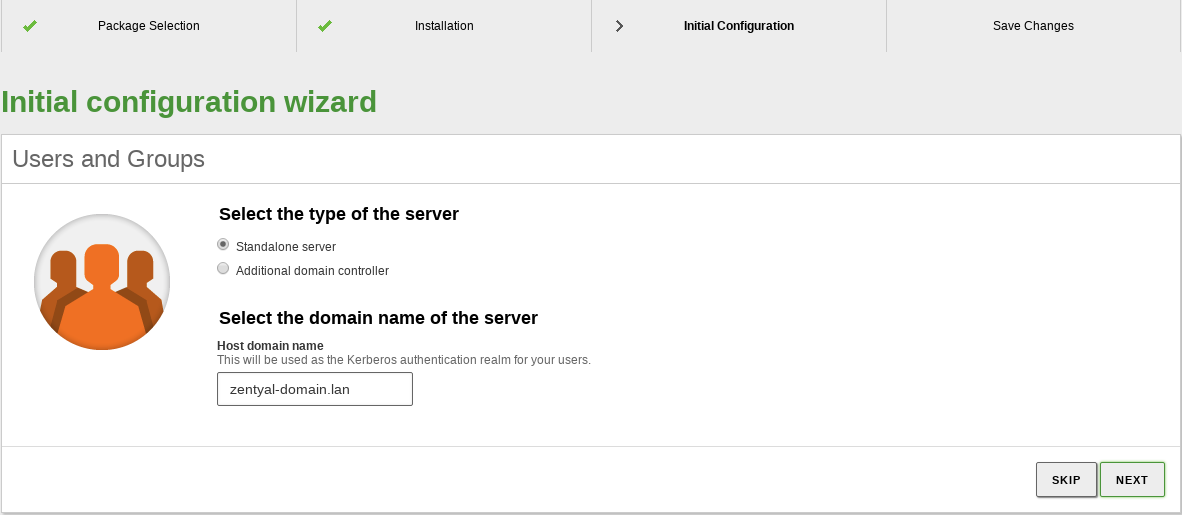
Domain configuration
In the next step you will choose the default virtual mail domain. The domain name chosen in the previous step will be used to autocomplete this form, but you can freely change it if you wish.
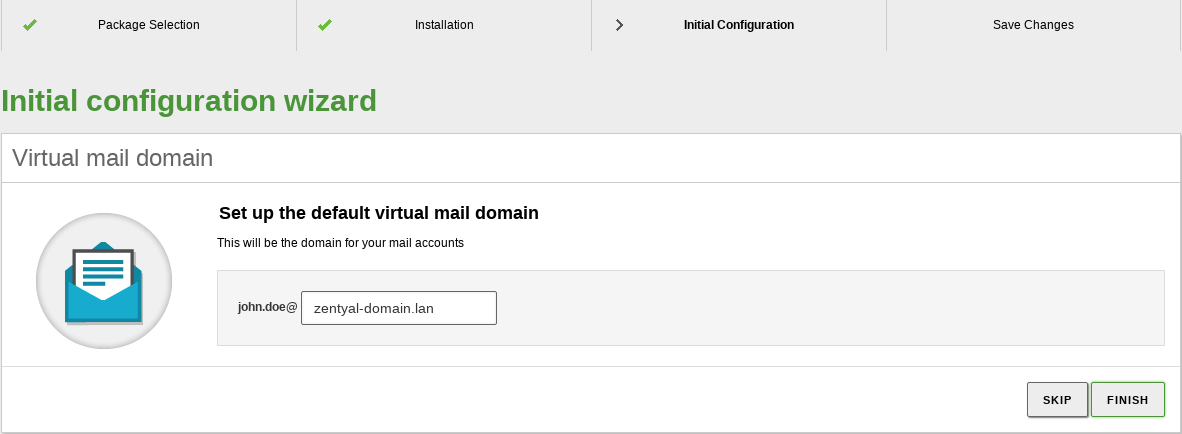
Mail domain
Finally, Zentyal will proceed to apply the initial configuration for the installed components.
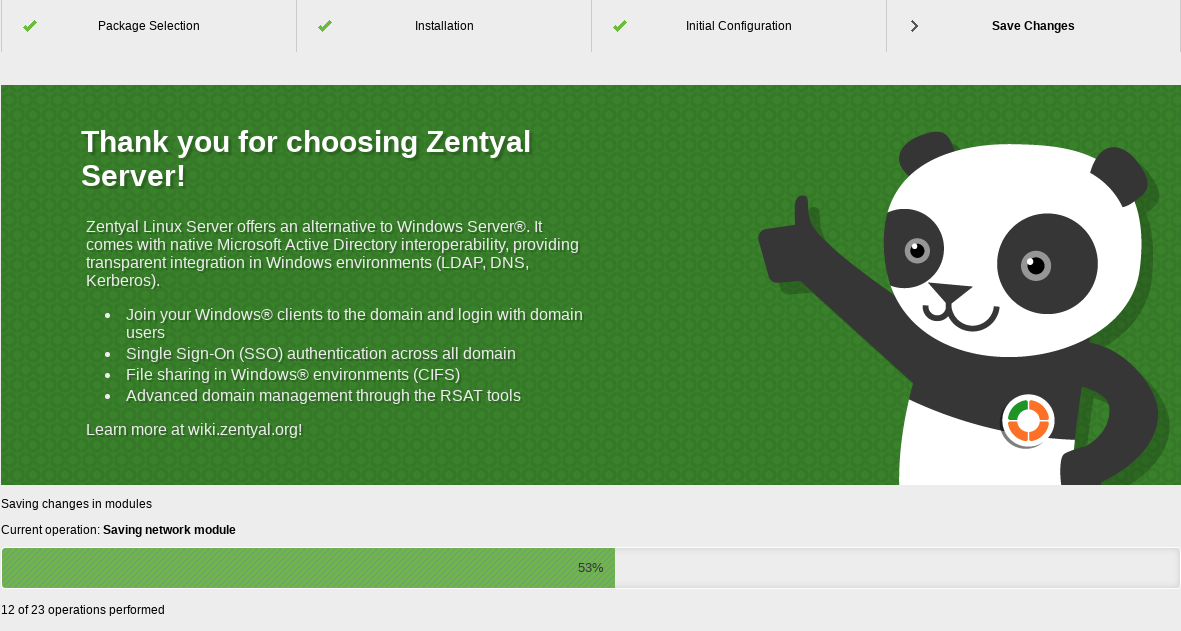
Saving configuration
And, that’s it! Your Zentyal server is ready to be used.
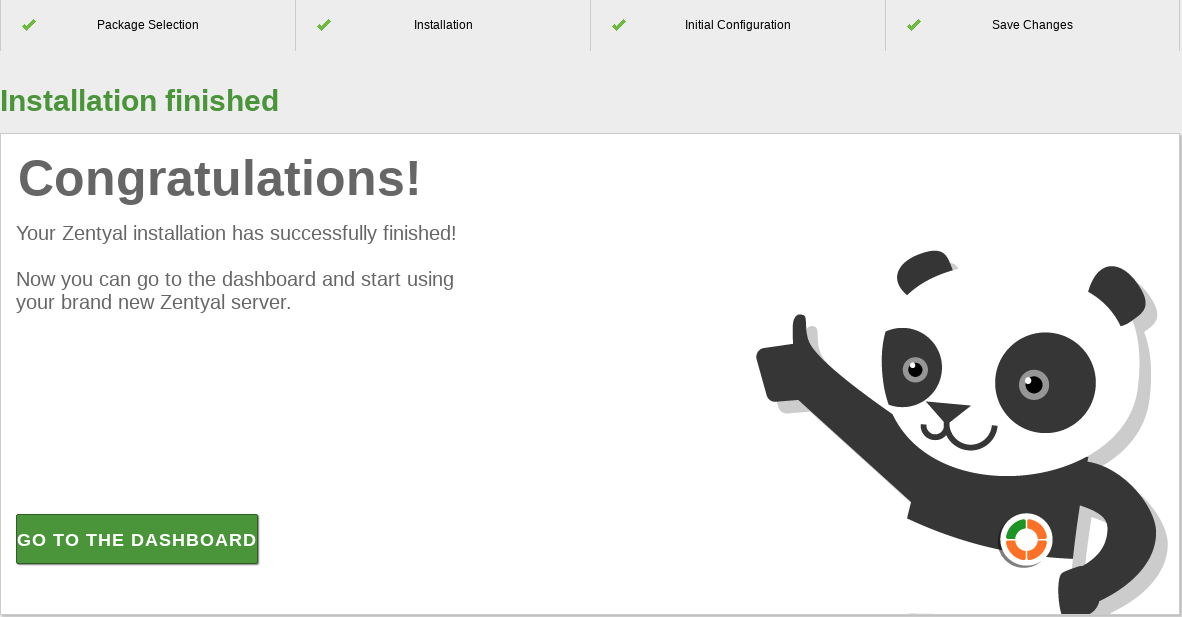
Installation completed
Now you can access the Dashboard and the specific configuration of each one of the components. In the next chapter you can go through the basic concepts and behavior of the Zentyal GUI.
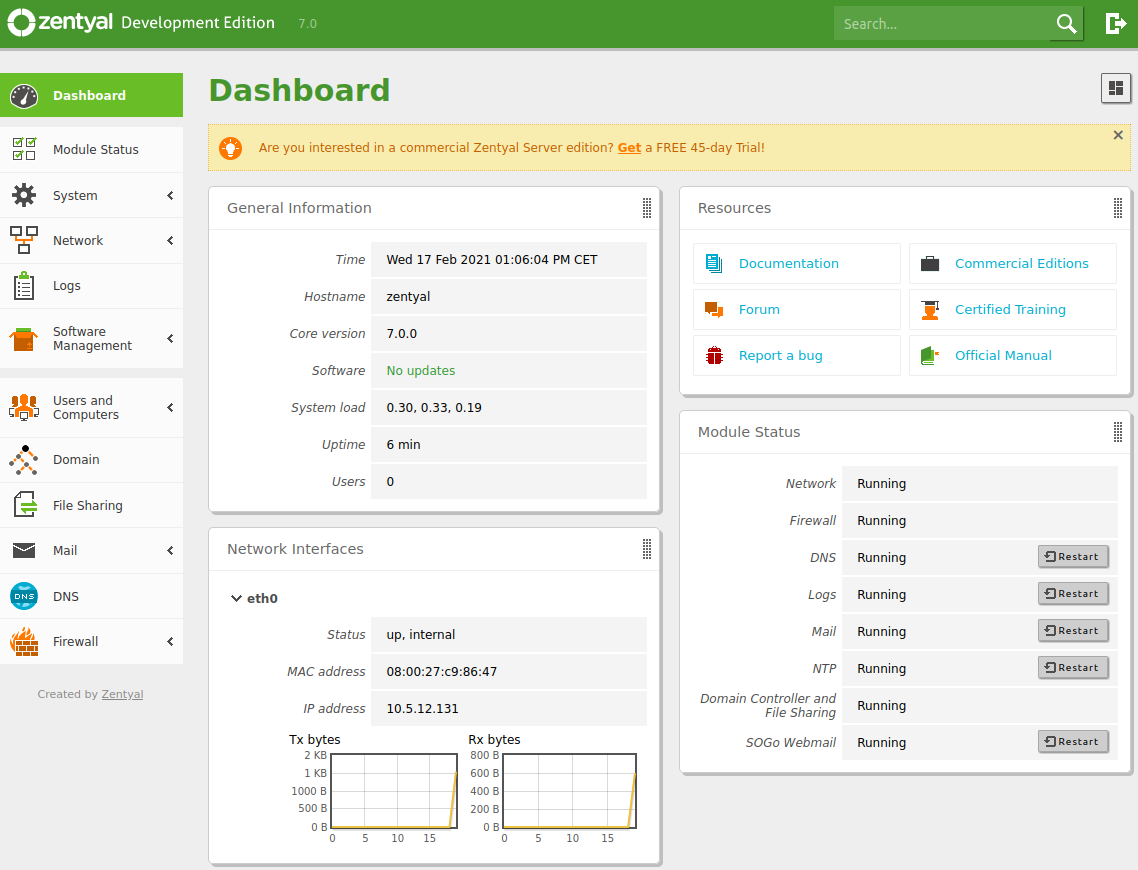
Zentyal Dashboard
Hardware requirements
Zentyal runs on standard x86_64 (64-bit) hardware. However, you must ensure that Ubuntu Focal Fossa 20.04 LTS (kernel 5) supports the hardware you are going to use. You should be able to check this information directly from the vendor. Otherwise you can check Ubuntu Linux Hardware Compatibility List [6] or Google Search.
The Zentyal server hardware requirements depend on the modules you install, how many users will use the services and what their usage patterns are.
Some modules have low resource requirements, like Firewall, DHCP or DNS. Others, like Mailfilter or Antivirus, need more RAM memory and CPU (especially, the Antivirus module). Proxy HTTP, Domain Controller and File Sharing modules benefit from faster disks due their intensive I/O usage.
It is good to keep in mind that a RAID setup gives a higher level of security against hard disk failures and increased speed on read operations.
If you use Zentyal as a gateway or firewall you will need at least two network cards but, if you use it as a standalone server, one network card is enough. If you have two or more Internet connections, you can use one network card for each router or connect them to one network card keeping them in the same subnet. Another option is to configure VLAN segments.
Also, it is always recommended that a UPS is deployed along with the server.
For a general purpose server with normal usage patterns these are the recommended minimum requirements:
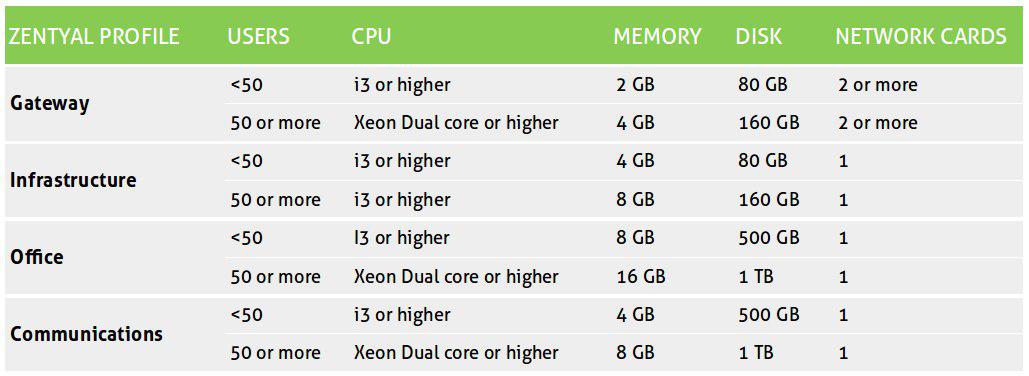
Hardware requirements table
When combining more than one profile you should think in terms of higher requirements. If you are deploying Zentyal in an environment with more than 100 users a more detailed analysis should be done including usage patterns, benchmarking and considering high availability strategies.
| [6] | Certified hardware: https://certification.ubuntu.com/server |