Thin client service (LTSP)
Configuration of a thin client server with Zentyal
Creation of thin client images
To start with, you have to create the images that will be sent through the network to your thin clients. In the context of thin clients you must take into consideration that the applications will be run on the operating system of the server, expect for the local applications or fat clients that will be mentioned later in this chapter. Therefore you must install a desktop environment and all the other applications that you wish to use on the thin clients.
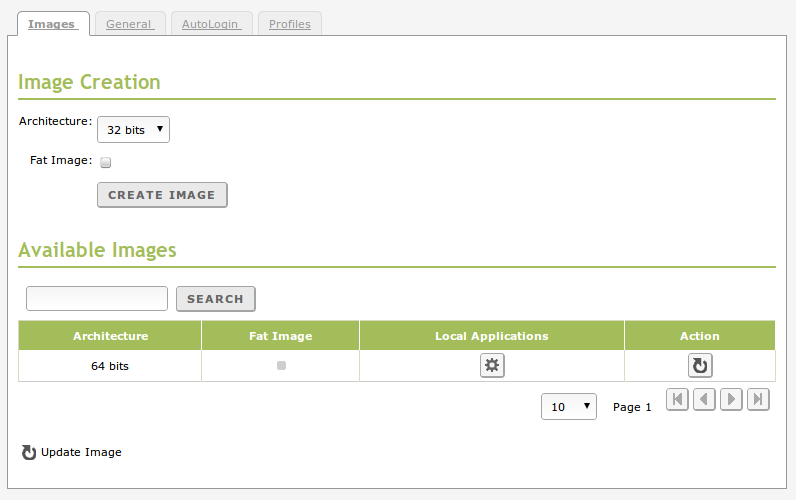
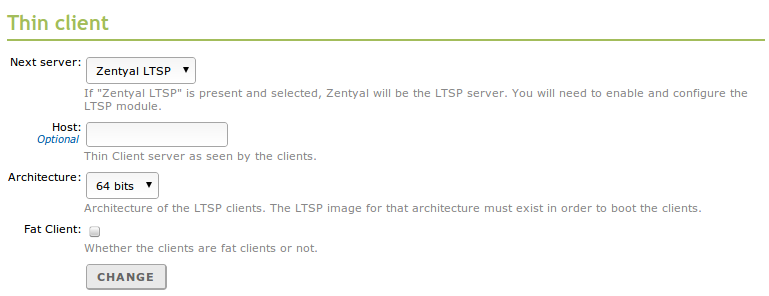
Once the necessary applications/environments are installed, you can start building the image by going to Thin clients tab Create thin client images. Here you choose the hardware architecture compatible with the client hardware, if you wish the clients to act as thin or fat clients [6] and finally click on Create image.
After this you are informed that Zentyal will proceed with the creation of the image. You can follow the progress through a widget available in the Dashboard.
Once the process has finished, you can see the list of available images by returning to the Thin clients tab Create thin client images.
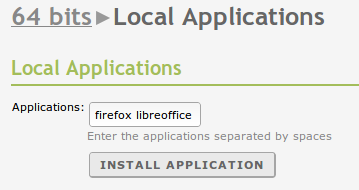
As you can see, it is possible to update the image. This will allow to update the core of the operating system or the local applications within the image. Through this menu you can also configure those applications that will be considered as local applications.
The local applications will allow to run some applications in the thin client hardware. This can be useful option if the applications are creating too much load for the server or network traffic. As you can see in the following section, to make this work, it is necessary to enable the Local applications in the General configuration tab.
| [6] | https://help.ubuntu.com/community/UbuntuLTSP/FatClients |
In the context of LTSP you can find a series of differences between thin clients and fat clients. The most important differences are:
- Fat clients use their own RAM and CPU to run processes.
- In fat clients the home directories will be mounted locally, in thin clients they are accessed remotely.
- In fat clients the desktop environment is installed and run locally.
General server configuration
Once you have the thin client image(s) prepared, you have to carry out the general server configuration.
- Limit to one session per user:
- Prevent the same user having multiple open sessions simultaneously.
- Network compression:
- Send the network traffic compressed, useful to reduce the network load at the expense of higher computing load.
- Local applications:
- Allow applications that will be run on thin clients.
- Local devices:
- Allow the use of local appliances, such as USB memories, from thin clients.
- AutoLogin:
- As you will see in the section AutoLogin, this option will allow login depending on the network MAC in the thin client.
- Guest Login:
- Here you can decide whether limited login will be possible without a personal account.
- Sound:
- The thin client will be able to reproduce sound if this option is enabled.
- Keyboard layout:
- Mapping between keys and characters to apply.
- Time server:
- Server to update the time in the clients, by default it will be the same as used for the images.
- Shutdown time:
- In some cases you might want to switch off at a specific time a room of thin clients, this option allows you to specify the time
- FAT Client RAM Threshold (MB):
- The clients that were provided a fat client image, but do not reach this RAM threshold will behave like thin clients.
The LTSP server associated with the thin client module of Zentyal counts on many more advanced configuration options. In case you want to use one of the options not mentioned here, the interface gives you the option to add it as a name-value pair in the lower part of the form Other options [7].
Configuration of automatic login
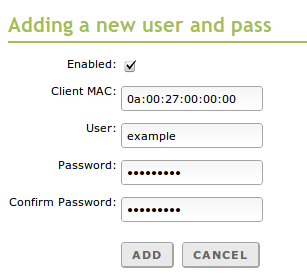
If this option has been enable, as mentioned in the previous section, it is possible for a thin client to login directly depending on its MAC address.
This configuration might be useful if, as usual in LTSP, the computers are used randomly by different people. For example, if you have a computer in a computer class that any person can use, you can avoid management of personal passwords.
Profile configuration
You might want to deploy a infrastructure where from a central server you can serve different images and/or configurations, depending on the network objective that you wish to serve. To do this, Zentyal offers the possibility to configure profiles.
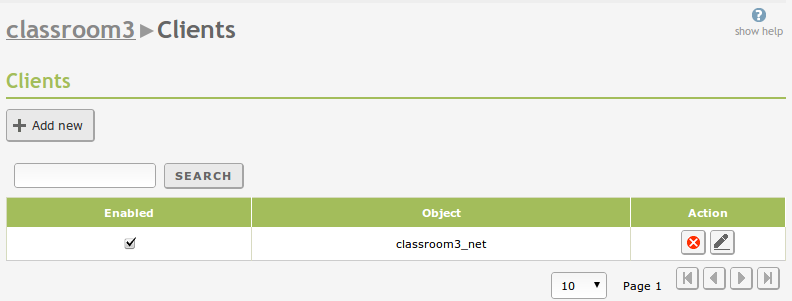
Each one of these profiles will have some associated clients, that will be defined through the Zentyal objects High-level Zentyal abstractions.
Through the configuration form associated with the profile (similar to the general configuration), you can decide whether for each one of the parameters you want to apply the values defined in the general configuration or other specific values.
Download and run thin client
Once the images are created and the server is configured, you can configure the clients to download and run them. In the first place you need to make sure that the DHCP module will notify when the images are available. This can be done with Zentyal’s own DHCP module.
Once the DHCP is configured, you will need to make sure that you clients have Network boot as the first boot option, generally this is configured through the BIOS of the computer.
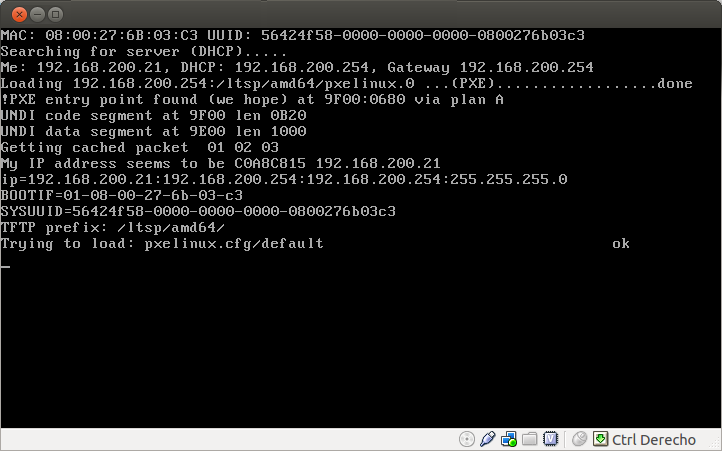
To boot over the network, your DHCP server will redirect it to the TFTP server that has the image:
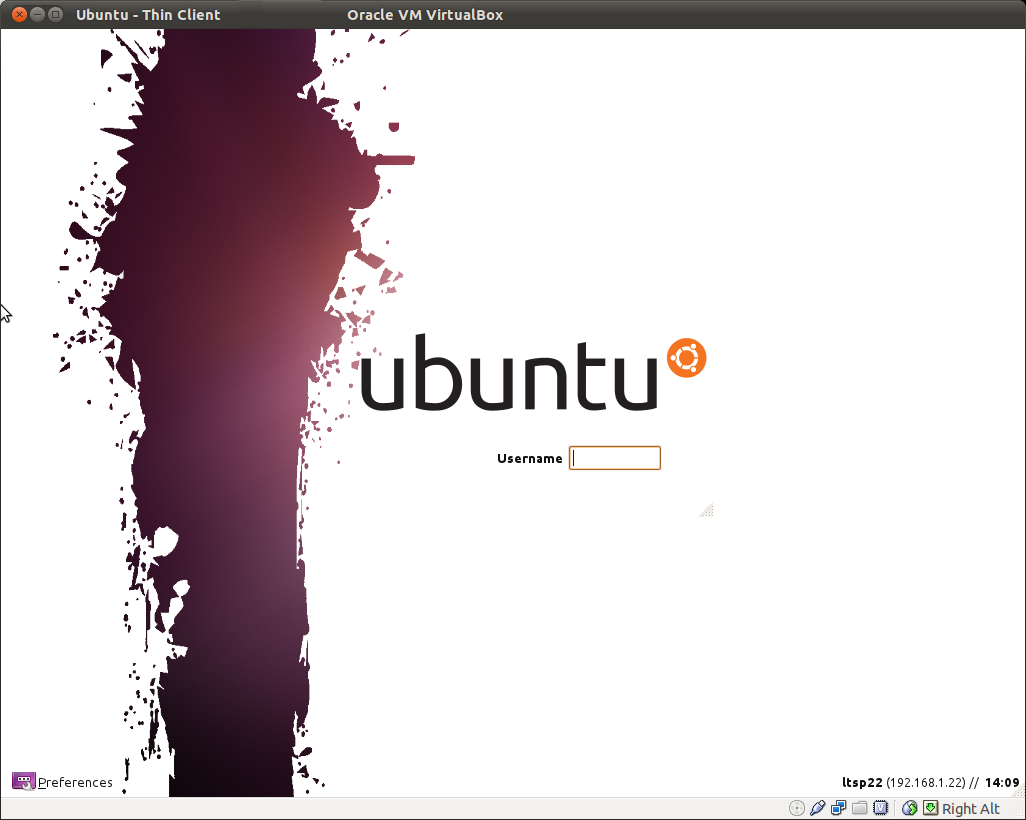
When the load finishes, you have your thin client running:
Obviously the users that can login in the thin client will be configured through Zentyal’s Directory Service (LDAP) module. You will need to enable the PAM mechanism to be able to log in the thin client using the LDAP users.


