Network configuration service (DHCP)
Zentyal uses ISC DHCP Software [4] to configure the DHCP service, which is the de facto standard on Linux systems. This service uses the UDP transport protocol, port 68 on the client and port 67 on the server.
| [4] | https://www.isc.org/software/dhcp |
DHCP server configuration with Zentyal
The DHCP service needs to be deployed on an interface configured with a static IP address. This interface should also be internal. From the menu DHCP you can find a list of interfaces on which you can offer the service.
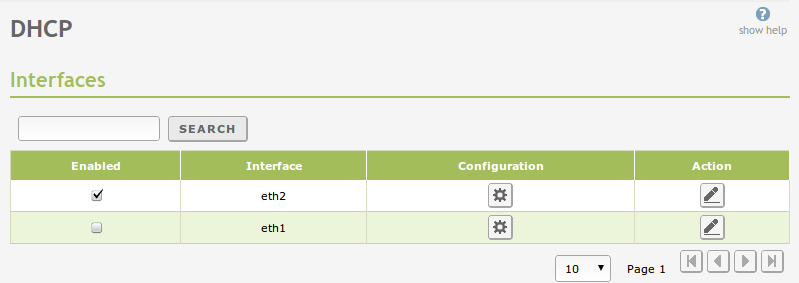
Interfaces on which you can offer DHCP
Common options
Once you click on the configuration option of one of these interfaces, the following form will appear:
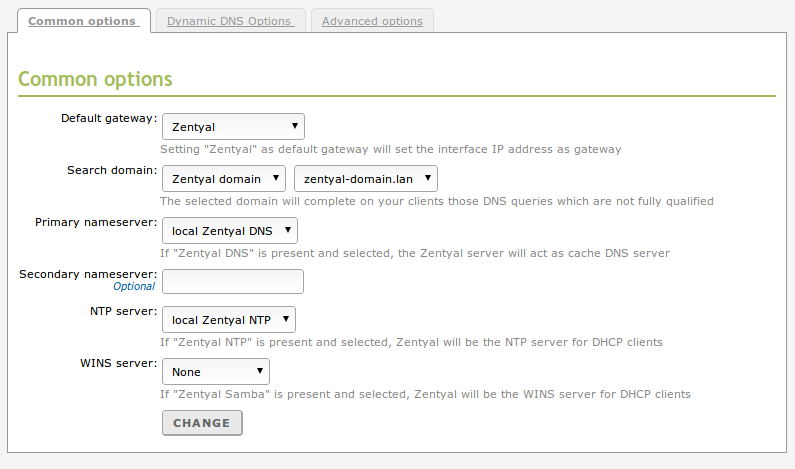
DHCP service configuration
The following parameters can be set in the Common options tab.
- Default gateway:
- This is the gateway that clients will use to communicate with destinations that are not on your local network, such as the Internet. Its value can be Zentyal, a gateway set Network ‣ Routers or a Custom IP address.
- Search domain:
- This parameter can be useful in a network where all the hosts are named under the same subdomain. Thus, when attempting to resolve a domain name unsuccessfully (for example host), a new attempt would be carried out by adding the search domain at the end (host.zentyal.lan).
- Primary name server:
- It specifies the DNS server that clients will use first when they have to resolve a domain name. Its value can be Local Zentyal DNS or the IP address of another DNS server. If you select your own Zentyal as the DNS server, make sure that the DNS module [5] is enabled.
- Secondary name server:
- DNS server to be used by clients in case primary DNS server is unavailable. Its value must be an IP address of a DNS server.
- NTP server:
- NTP server that clients will use to synchronise their system clock. It can be None, Local Zentyal NTP or the IP address of another NTP server. If you select your own Zentyal server as the NTP server, make sure that the NTP module [6] is enabled.
- WINS server:
- WINS server (Windows Internet Name Service) [7] that clients will use to resolve names on a NetBIOS network. It can be None, Local Zentyal or another Custom. If you select your own Zentyal server as the WINS server, make sure that the File Sharing module [8] is enabled.
Under these options, you can see the dynamic ranges of addresses and static allocations. For the DHCP service to work properly, you should at least have a range of addresses to distribute or static allocations; otherwise the DHCP server will not allocate IP addresses even when listening on all network interfaces.
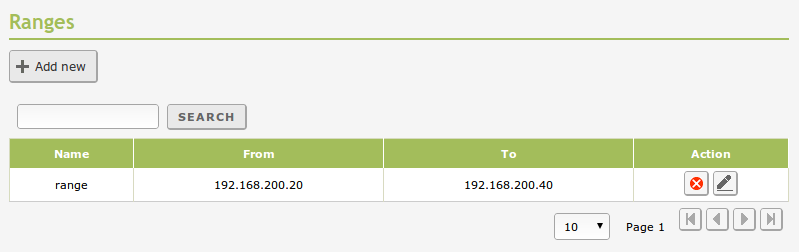
Configuring DHCP ranges
Address ranges and static addresses available for assignment from a certain interface are determined by the static address assigned to that interface. Any available IP address of the subnet can be used in ranges or static allocations.
In order to add a range in the Range section you have to introduce a name to identify the range and the values you want to assign within the range listed above.
You can perform static assignment of IP addresses to specific physical addresses in the Fixed addresses section. To fill this section you need an object which members are pairs of host IP addresses (/32) and MAC addresses. You can create this object from Network ‣ Objects or directly in the quick menu offered in the DHCP interface. An address assigned in this way can not be part of any range. You can add an optional Description for the allocation as well.
You can see DHCP clients using dynamic allocations (static allocations will not be shown) thanks to a widget that will appear in the Dashboard:

Client with dynamic allocation enabled
| [5] | See Domain Name System (DNS) section for details. |
| [6] | See Time synchronization service (NTP) section for details. |
| [7] | http://en.wikipedia.org/wiki/Windows_Internet_Name_Service |
| [8] | See File sharing and authentication service section for details. |
Dynamic DNS options
The dynamic DNS options will allow to assign domain names to DHCP clients through the integration of DHCP and DNS modules. Thanks to this it is easier to recognize machines located in the network: they can be recognized by an unique domain name instead of an IP address that might change.
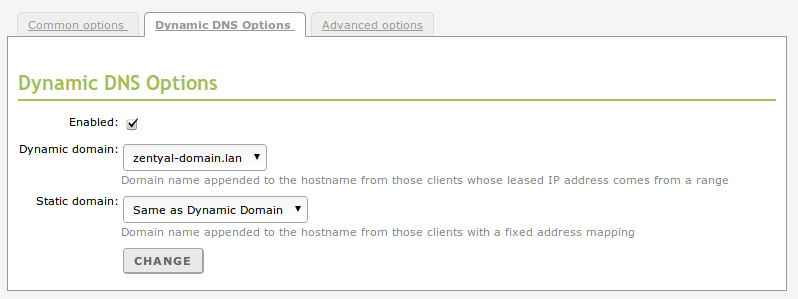
Configuration of dynamic DNS updates
To use this option, you must go to the tab “Dynamic DNS options” and to enable the feature, the DNS module must be enabled as well. You must have both Dynamic domain and Static domain: both will be added automatically to the DNS configuration. The dynamic domain will host the names of those machines which IP addresses belong to the range and the name associated is the one sent by the DHCP client, usually the host name. If none is sent, the pattern dhcp-<offered-IP-address>.<dynamic-domain> will be used. If there are any conflicts with a static allocation, the established static address will be overwritten manually. As to the static domain, the host name will follow this pattern: <name>.<static-domain>. The name will be the one registered in the object used in the static allocation.
Advanced options
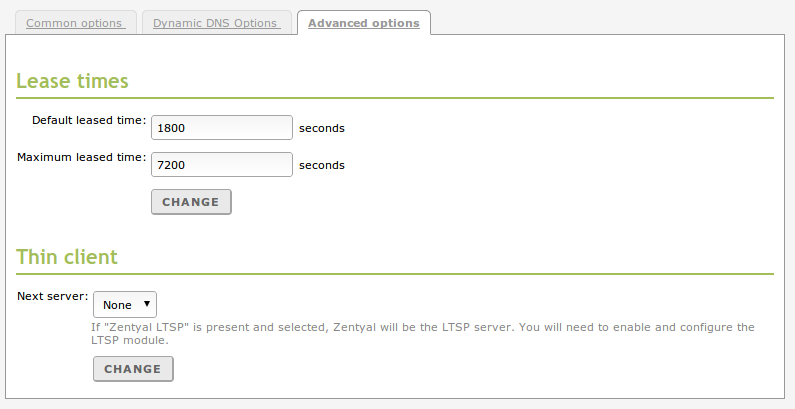
Advanced DHCP options
The dynamic address allocation has a time limit. After expiry of that time a renewal must be requested (configurable in the Advanced options tab). This time varies from 1800 seconds to 7200. This limitation also applies to the static allocation.
Zentyal supports remote boot for thin clients through DHCP. In the Advanced options tab you can configure a thin client that will be published through DHCP. If Zentyal is not used as a thin client server, in Host select the remote host and in File route select the route to find the image within the server.
In case Zentyal is used as a thin client server, choose image Architecture. You can also choose if you want to use thin or fat client [10]. To do this, you must have created the mentioned image previously, as well as have carried out the rest of the configurations that will be explained in the Thin client service (LTSP).
| [10] | Detailed information regarding the differences between thin and fat clients: https://help.ubuntu.com/community/UbuntuLTSP/FatClients |