HTTP Proxy Service
Zentyal uses Squid [1] as HTTP proxy, along with Dansguardian [2] for the content control.
| [1] | http://www.squid-cache.org/ |
| [2] | http://www.dansguardian.org/ |
HTTP Proxy configuration in Zentyal
To configure the HTTP Proxy, go to . You can define whether you want the proxy to work in Transparent mode to transparently enforce policies, or if it will have to be configured manually in the browsers. In any case, using Port, you can stablish in which port the proxy is going to accept the incoming connections. The default port is TCP/3128, other typical ports are 8000 and 8080.
Warning
Zentyal’s proxy only accepts incoming connections from the internal networks, so an internal address must be used when configuring the browser.
The cache size controls the amount of space in the disk you are going to use to temporarily store web content. It’s configured using Cache Size. You need a good estimation of the amount and type of traffic you are going to receive to optimize this parameter.

HTTP Proxy
It’s possible to configure which domains are not going to be stored in the cache. For example, if you have local web servers, you will not improve the access storing a cache and you will waste memory that could be used for storing remote elements. If a domain is in the cache exemption list, the data will be retrieved delivered directly to the browser. You can define this domains in Cache exemptions
Also, you may want to server some web pages directly from the original server, for the privacy of your users or just because they don’t operate correctly behind a proxy. For these cases, you can use the Transparent Proxy Exemptions.
The HTTP Proxy is able to remove the advertisement from the web pages as well. This will save bandwidth and remove distractions, or even security threats. To use this feature you only have to enable Ad Blocking.
Access Rules
Once you have decided your general configuration for the proxy, you have to define the access rules. By default you will find a rule in which allows all access.
Warning
Similarly to the Firewall, the implicit rule is to deny, and the upper rule will have preference if several can apply to a given traffic.
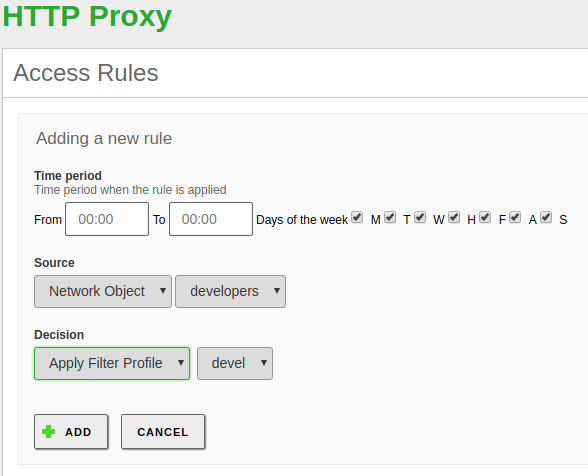
New access rule in the proxy
Using the Time Period you can define in which moment the rule will apply, days of the week and hours. The default is all times.
The Source is parameter that allows you to configure if this rule will apply to an Object , an Users Group or to all the traffic going through the proxy. The ‘Users Groups‘ is only available for Zentyal Commercial Edition, also, it requires the Domain Controller and File Sharing module enabled.
Again, similarly to the Firewall, once the traffic has matched one of the rules, you have to specify a Decision, in the case of the Proxy you have three options:
- Allow all: Accepts all the traffic without making any check, it still allows the user to have a web cache and the administrator to have an access log.
- Deny all: Denies all the connection attempts to the web.
- Apply filter profile: For each request, it will check that the contents don’t violate any of the filters defined in the profile, you will find out about the available filters in the next section.
Let’s see the following example:
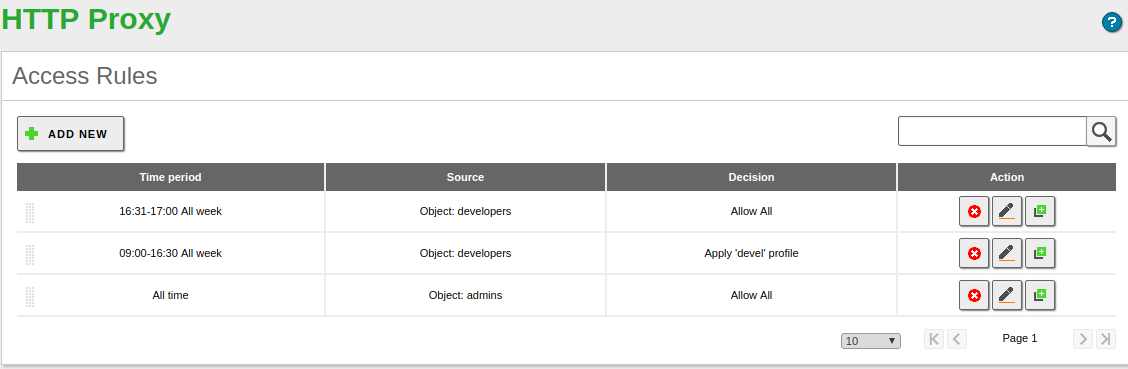
Access rules example
Anyone will be able to access without any restriction during the weekends, because is the upper-most rule. At any other time, the requests coming from the ‘Marketing’ object will have to be approved by the filter defined in ‘strict_filter’, the request coming from the object ‘Developers’ will access without restrictions. The request not matching with any of these rules will be denied.
Filter profiles
You can filter web pages with Zentyal depending on their contents. You can define several filter profiles from .
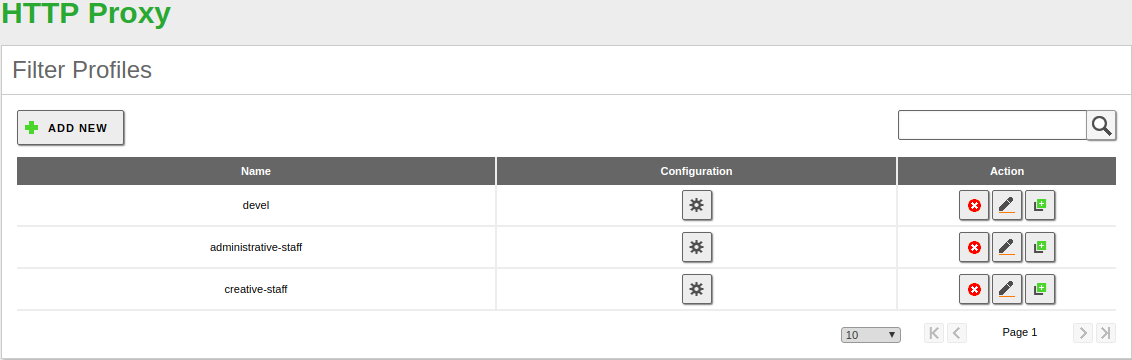
Filter profiles for the different objects or user groups
If you go to the Configuration of one of these profiles, you can specify different criteria to adjust the content filters. In the first tab you can find the Threshold and the antivirus filters. To have the antivirus checkbox available you need to have the antivirus module installed and enabled.
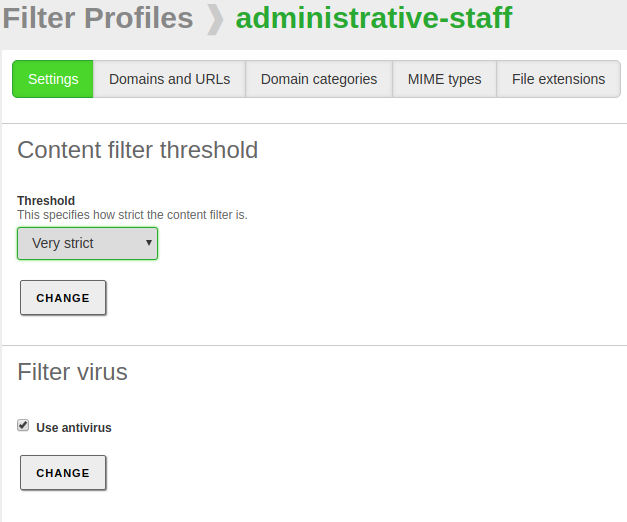
Filter profile configuration
Warning
The antivirus option will be only available when the Antivirus module is installed and enabled.
These two filters are dynamic, which means that they will analyse any web page to find inappropriate content or viruses. The threshold can be adjusted to be more or less strict, this will influence the number of inappropriate words it will tolerate before rejecting a web page.
In the next tab Domains and URLs you can statically decide which domains will be allowed in this profile. You can Block sites specified only as IP to avoid bypassing the proxy by just typing IP addresses. The option Block not listed domains and URLs iallows you to decide if the list of domains below behaves as a blacklist or a whitelist, that is, if the default behavior will be to accept or deny an unlisted page.
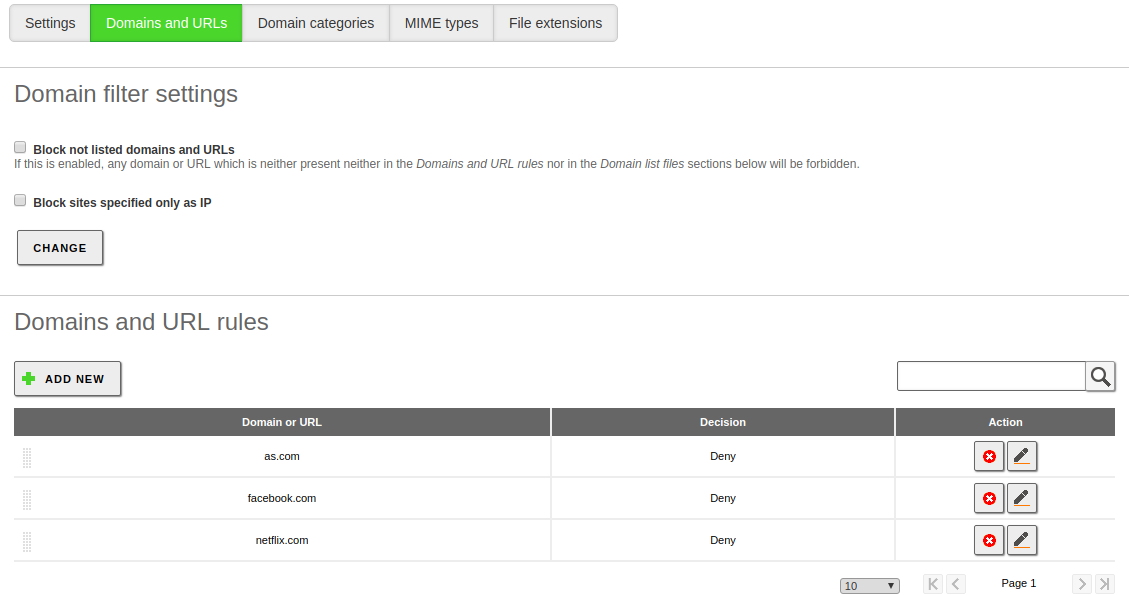
Domains and URLs
Finally, at the bottom you have the list of rules, where you can specify which domains you want to accept or deny.
To use the Domain categories first you need to load a categorized domain list. You can load this list from . Then you can upload a file which contains a list of URLs grouped by categories to be used by filters like SquidGuardian [3] o DansGuardian [4] . For this example download this list URL lists from http://www.shallalist.de/Downloads/shallalist.tar.gz .
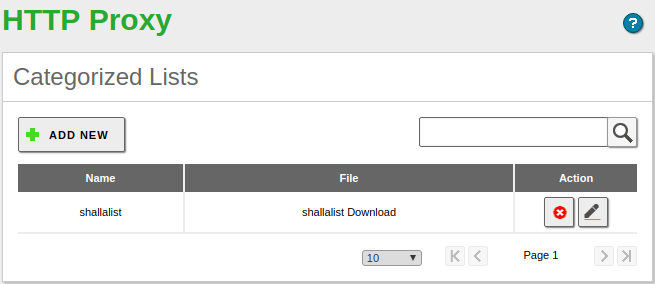
Categorized list
Once you have configured the list, you can choose which category will be denied or allowed from the Domain Categories tab.
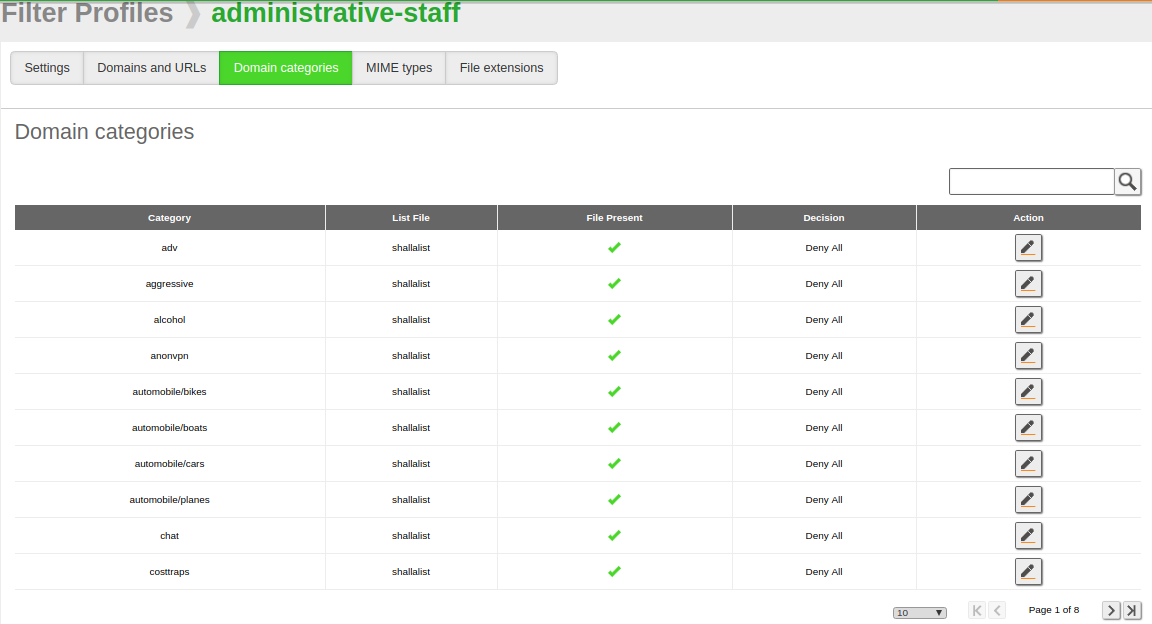
Blocking access to social networks
Using the two left tabs you can select which types of contents or files will be accepted by this profile, either using MIME types or file extensions. The MIME [5] types are a format identifier for Internet, for example application/pdf.
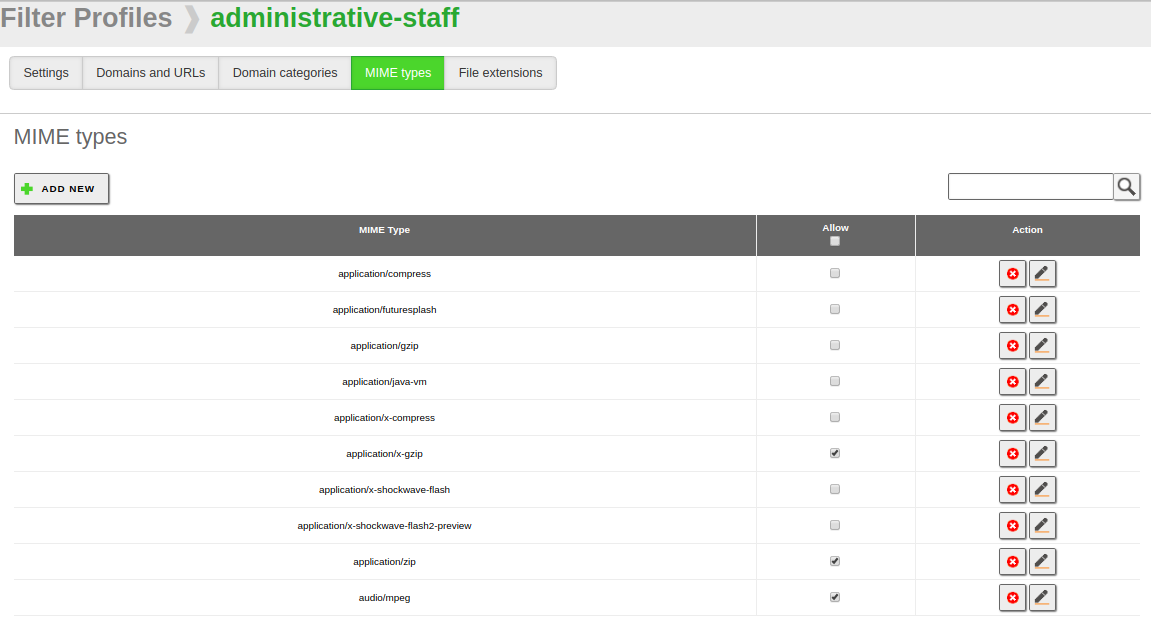
MIME type filter
As you can see in the image above, the column Allow allows you to configure whether the default behaviour will be to deny or to accept a given type.
You will find a similar interface to configure allowed file extensions:
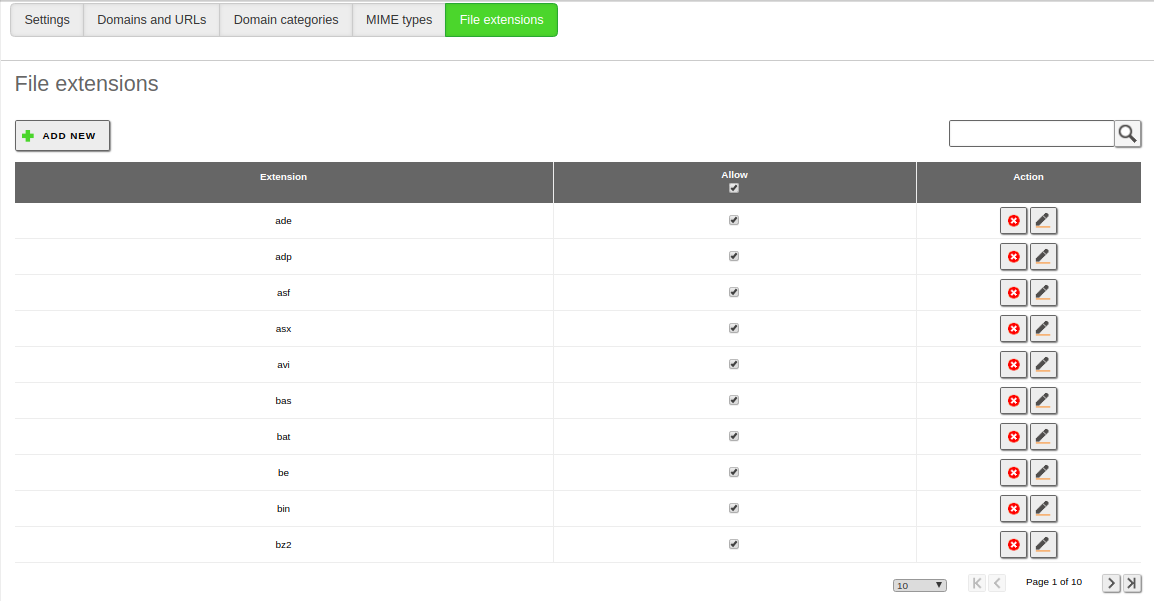
Blocking ‘.exe’ files
| [3] | http://www.squid-cache.org/ |
| [4] | http://www.dansguardian.org/ |
| [5] | http://en.wikipedia.org/wiki/Mime_type |
Bandwidth Throttling
Zentyal’s Proxy allows you to implement a flexible limit to control the bandwidth used by your users while browsing the web. This limit is based on the Token Bucket algorithms [6]. You have a bucket with a bandwidth reserve and a refilling speed. The emptying speed will depend on the user’s download. If the user uses the connection sensibly, the bucket will refill faster than he/she empties it, so there will be no penalization. If the user start to empty the bucket much faster than the refilling rate, it will empty and then he/she will have to settle with just the refilling speed.
For each bandwidth throttling rule you configure, you have two types of buckets available: global and per client. Each client will consume their personal buckets and everyone included in the object will consume the global bucket.
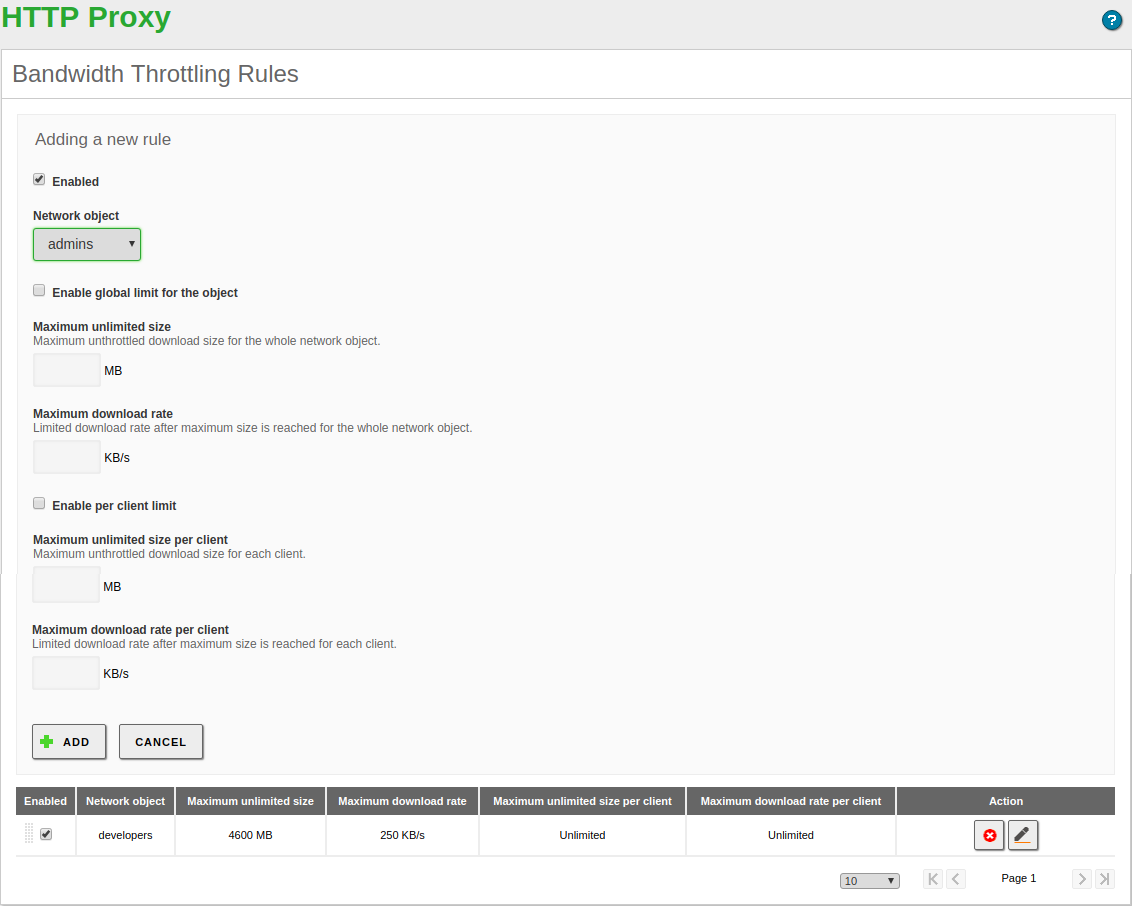
Bandwidth Throttling
| [6] | http://en.wikipedia.org/wiki/Token_bucket |
HTTPS block by domain
Although the Proxy module is not able to analyze the content of the HTTP traffic as it is encrypted, Zentyal implements integration with the Firewall module to block all outgoing traffic to 443 port matching a given domain name. This functionality is only available for Zentyal Commercial Edition.
To enable it, go to , create or edit an existing one and simply mark the Block HTTPS traffic by domain box inside the tab.
After saving changes, any domain with Deny decision that we add to the list below will be blocked. We can see an example in the following figure.
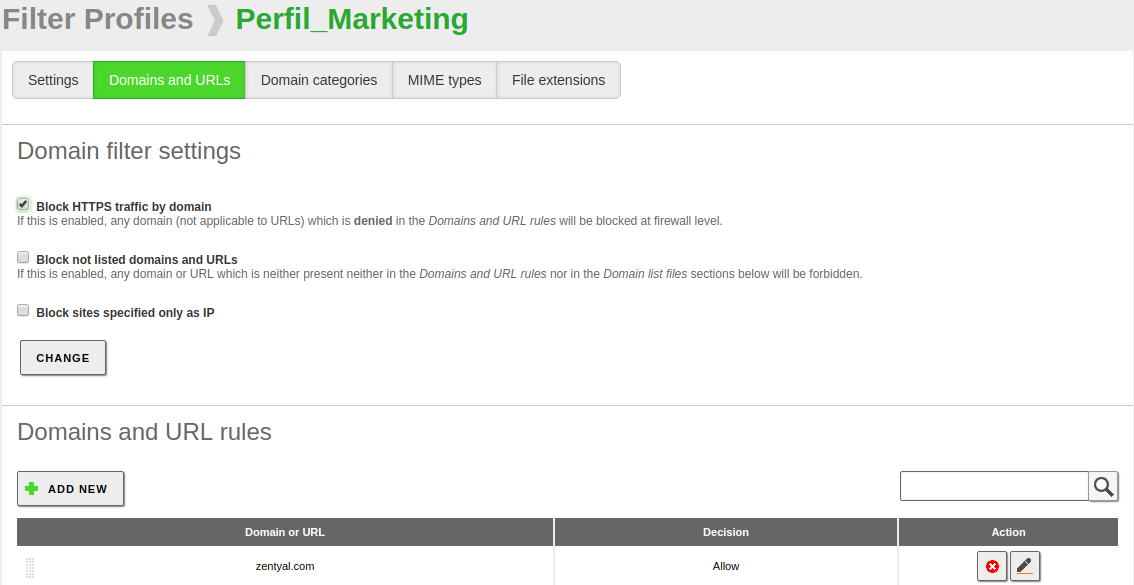
Block HTTPS traffic by domain and denied domain