Users and Computers
Zentyal integrates OpenLDAP [3] as a directory service.
| [3] | http://www.openldap.org/ |
Configuration of an OpenLDAP server with Zentyal
LDAP configuration options
Going to Users and Computers ‣ LDAP Settings you can check the current LDAP configuration and perform some adjustments related to the configuration of PAM authentication on the system.
In the upper part, you can see the LDAP Information:
- Base DN:
- Base of the domain names in this server.
- Root DN:
- Domain name of the server root.
- Password:
- The password of other services and applications that want to use this LDAP server. If you want to configure a Zentyal server as a slave of this server, this is the password that will be used.
- Users DN:
- Domain name of the users’ directory.
- Groups DN:
- Domain name of the groups’ directory.
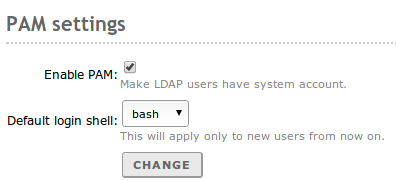
In the lower part you can establish some PAM settings
Enabling PAM, you will allow the users managed by Zentyal to also act as normal system users, making possible to start sessions in the server (for example SSH and SFTP).
In this section you also specify the default command interpreter for your users. This option is initially configured as nologin, blocking the users from starting sessions. Changing this options will not modify the existing users in the system, and will only be applied to the users created after the change.
Managing Users, Groups and Computers
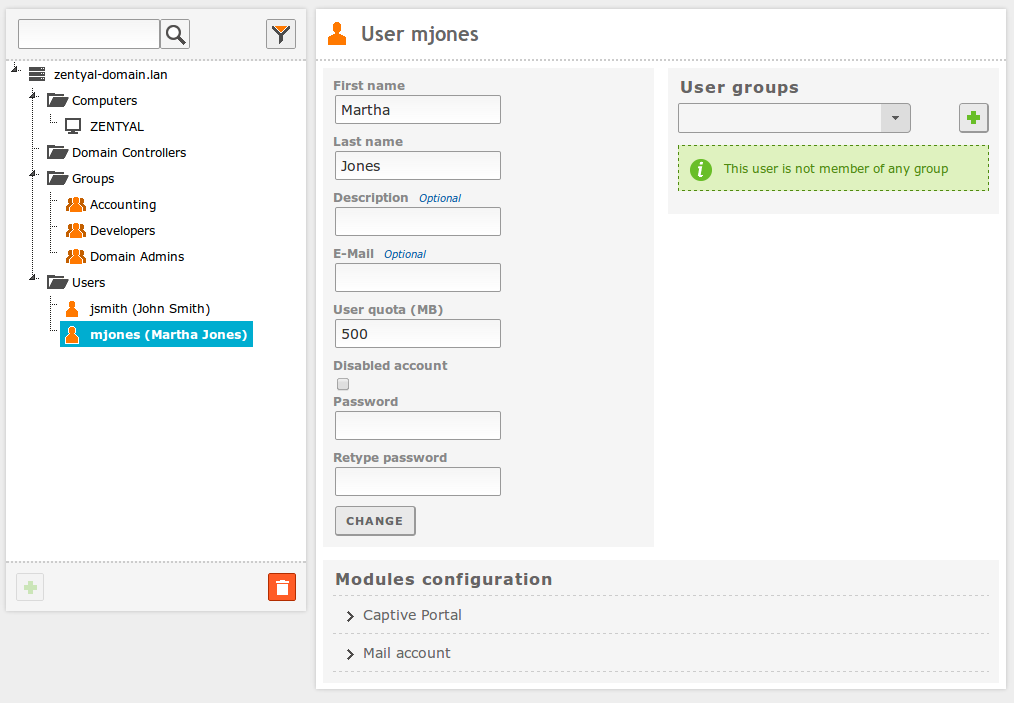
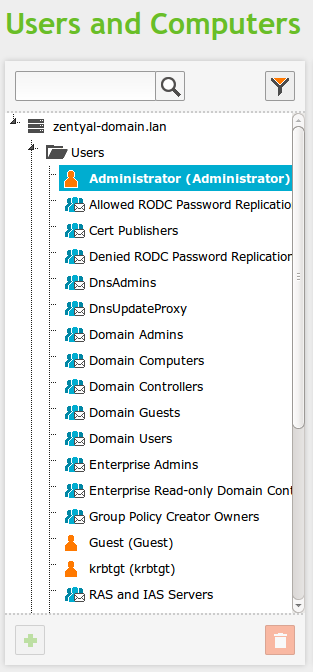
Going to Users and Computers ‣ Manage you will see the LDAP tree. From this interface you can also create and delete nodes, manage the LDAP attributes and adjust the permissions for other LDAP-connected services.
On the left side, you can see the tree, with your “local” domain as the root. There are several Organizational Units already created.
- Computers: Hosts joined to the domain, both servers and desktops, this section is useful for inventory reasons and also to apply host-based rules and configuration as you will see in the File sharing and Domain Services chapter.
- Domain Controllers: Servers that replicate this directory information, they can also assume the different FSMO roles of a Samba4/Active Directory domain.
- Groups: Generic OU container node for the groups in your organization.
- Users: Generic OU container node for the users in your organization.
An Organizational Unit is a container for other objects, like groups, users or even other nested OUs. It’s a concept closely related to the tree data structure and the different policies associated with each node. If you are not using Samba4/Active Directory capabilities, you probably don’t need to create new Organizational Units in your domain.
Some Zentyal modules are only compatible with the classical LDAP structure and will not recognize users that are created on custom OUs (different than the default Users/Groups OUs described above). Currently, File sharing and Domain Services, HTTP Proxy Service, Electronic Mail Service (SMTP/POP3-IMAP4) and Groupware service modules are compatible with multi OU users.
You can delete any node using the trash can icon or you can create a new one clicking on a container and then on the green plus icon.
It’s important to note that each time you create a user in the LDAP tree, a directory /home/<username> is created in the filesystem of the server, if the directory already exists, you may have problems creating the user. Move or remove the directory before creating the user if this is the case.
The Contacts are personal information objects not related with the authorization mechanism. In other words, contacts will not be able to login on the domain services.
On the right side you can see and modify the LDAP attributes of the currently selected node, for example, the surname of an user.
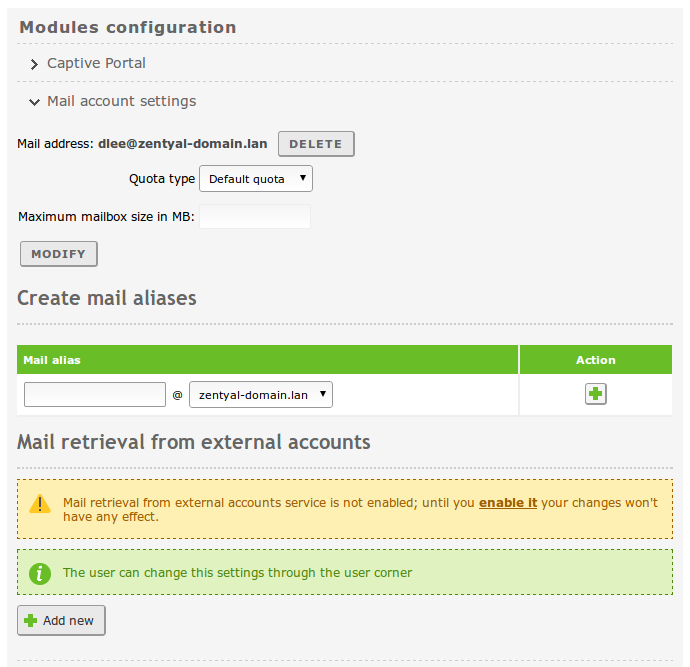
Clicking on a user, you can also modify user’s membership to the different groups, and make use of the user plugins. At the bottom of the right hand side of the interface, you will see a section named Modules Configuration, this section has a variable number of subsections, depending on the Zentyal modules installed and enabled. From here, you can modify the specific parameters of that module regarding this user. The default configuration of the user plugins depends on the User Template explained below.
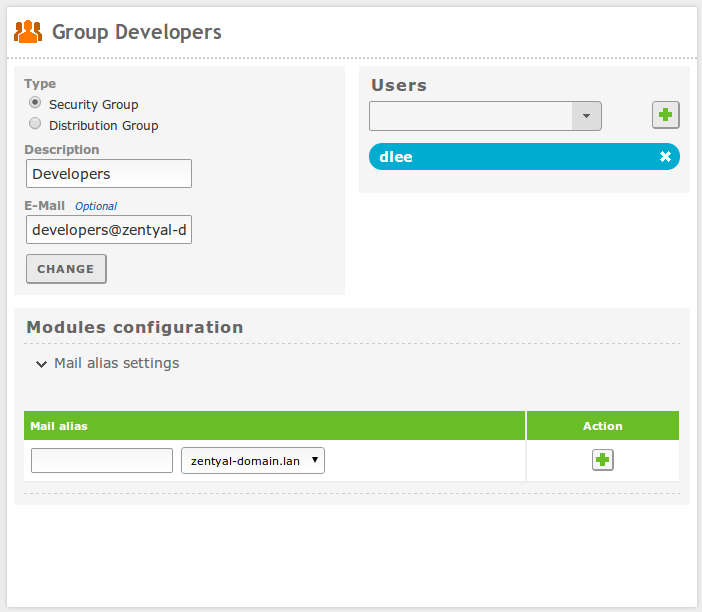
Clicking on a group, you can also modify the users belonging to the group, create distribution mail lists and change the type of group. The Security Group (default) contains users that will be able to login on the domain services, the Distribution Group contains user that will be used for other purposes, like mail lists.
User Template
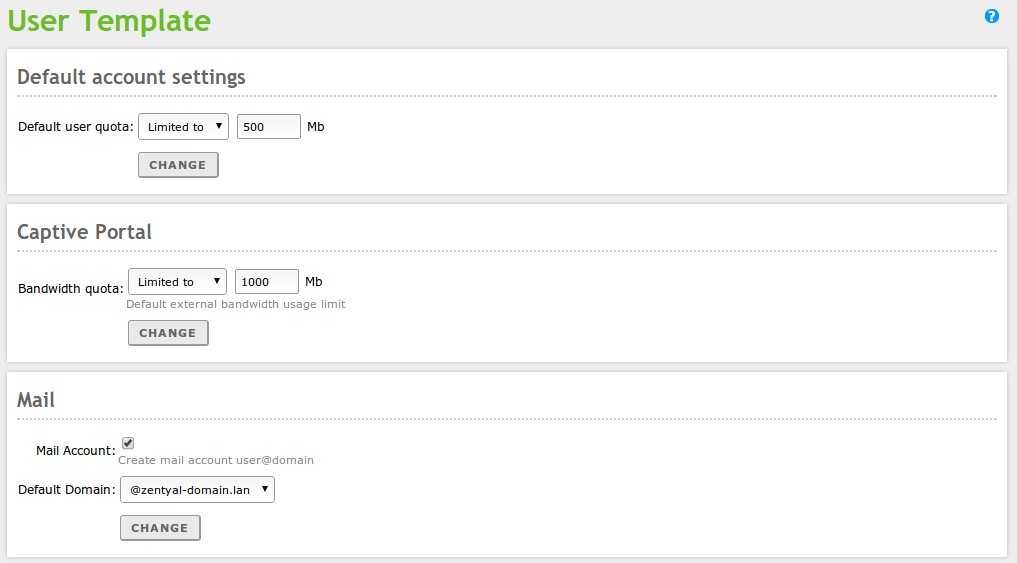
Going to Users and Computers –> User Template you can modify the default service settings for the new user, for example, default domain for their mail account. It’s important to note that any modifications will only be applied to the users created after changing the template. The number of sections is variable, depending on the user-related Zentyal modules present on your system.
Configuring external Microsoft Active Directory
It’s possible to configure Zentyal as an additional (or Operations Masters) controller of a Microsoft Active Directory domain using Samba4 technologies (see File sharing and Domain Services).
Nevertheless, you may want to just read the directory information from an external Active Directory without becoming a controller.
Zentyal offers this possibility though a wizard during installation time, if you have chosen the Users and Computers modules or later on, if you clean and destroy local users configuration, you can do this using the command: sudo /usr/share/zentyal/unconfigure-module users
First of all, you have to configure Windows Server as your main DNS resolver from Network ‣ DNS and make sure that in the Windows Server, the forward and reverse DNS zones are correctly configured for both servers, Zentyal and Windows.
Supposing that you have not used the installation wizard and have executed the command above, you will find a menu option going to Users and Computers ‣ Configure mode
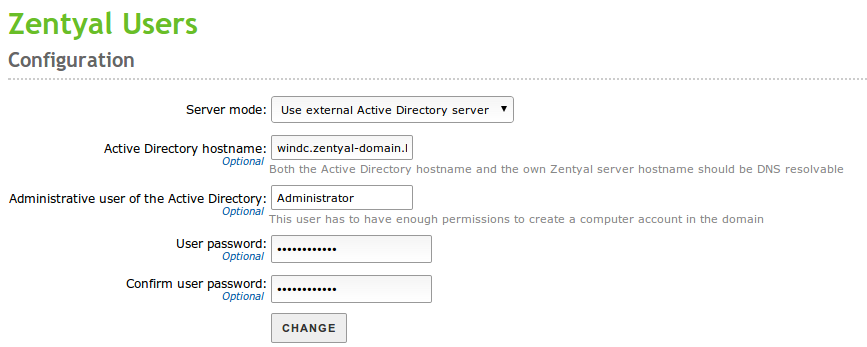
If you choose then to Use external Active Directory server you will be presented with the following form
Now, you just need to enable the Users and Computers module again, and you will be able to use the Windows Server directory information to validate in all the user-depending modules (HTTP Proxy, RADIUS, mail, etc...)
User’s corner
User editable data
The user’s data can only be modified by the Zentyal administrator, which can be inefficient when the number of users to be managed becomes too big. Administration tasks like changing the password of a user can be very time consuming. For this reason, you need the User’s corner. This corner is a Zentyal service designed to allow the users to change their own data. This functionality has to be enabled like the rest of the modules. The user’s corner is listening on another port different to other processes to enhance the system security.
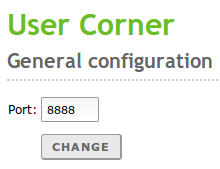
Going to Users and Computers ‣ Usercorner you can configure the listening port
The user can access the User corner using the URL:
https://<Zentyal_ip>:<usercorner_port>/
Once the user enters his/her name and password, he/she can perform changes in his personal configuration. User’s corner offers the following functionality:
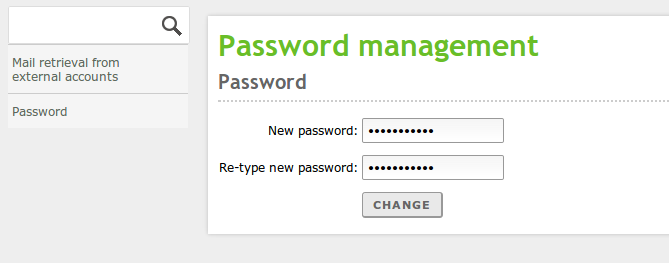
- Change the current password.
- Configure the voice mail for the user.
- Configure an external personal account to retrieve the mail and synchronise it with the content of the mail server in Zentyal.

